how to connect a laptop to a smartboard: A Comprehensive Guide
Connecting a laptop to a smartboard can greatly enhance your presentations and collaborations. Whether you are a teacher, a business professional, or simply someone looking to improve their digital experience, understanding the process of connecting a laptop to a smartboard is essential. In this article, we will guide you through the steps necessary to establish this connection, ensuring that you can make the most out of your smartboard. Let's dive in!
1. Understanding the Basics
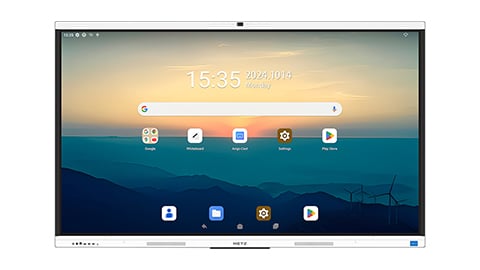
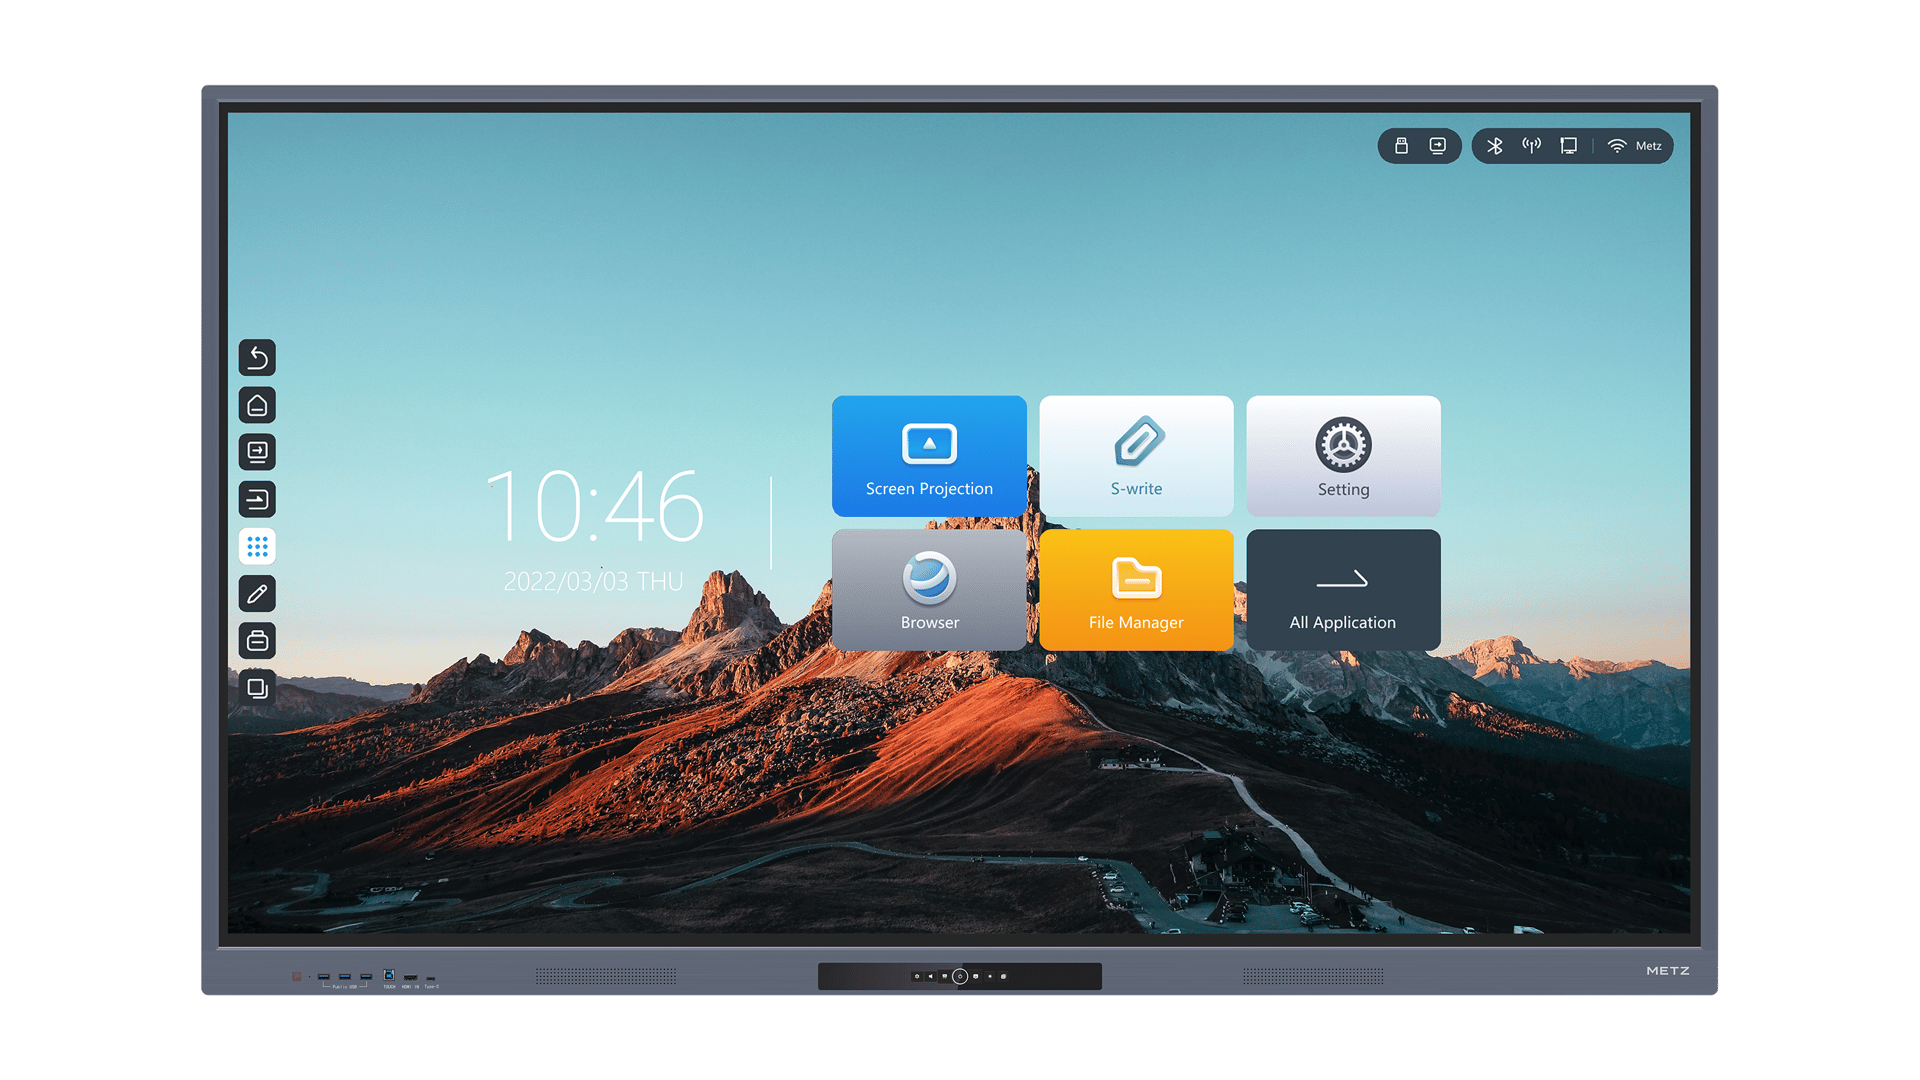
Before we delve into the technical details, it is important to have a clear understanding of what a smartboard is and how it functions. A smartboard, also known as an interactive whiteboard, is a touch-sensitive display panel that allows you to interact with your computer using a stylus or your fingers. It can be used for presentations, teaching, brainstorming, and much more. Connecting your laptop to a smartboard enables you to display your laptop's screen on the smartboard, providing a larger and more interactive experience for your audience.
2. Check Your Laptop's Ports
The first step in connecting your laptop to a smartboard is to check the available ports on your laptop. Most laptops come with HDMI, VGA, DVI, or DisplayPort ports. These ports allow you to transmit audio and video signals to an external display, such as a smartboard. Identify the type of port your laptop has, as this will determine the type of cable or adapter you need to connect it to the smartboard.
3. Determine the Smartboard's Input Ports
Next, you need to identify the input ports available on your smartboard. Common input ports include HDMI, VGA, or DisplayPort. Check the user manual or the back of the smartboard to find out which input ports are available. It is important to ensure that your laptop's output port matches the smartboard's input port to establish a successful connection.
4. Choosing the Right Cable or Adapter
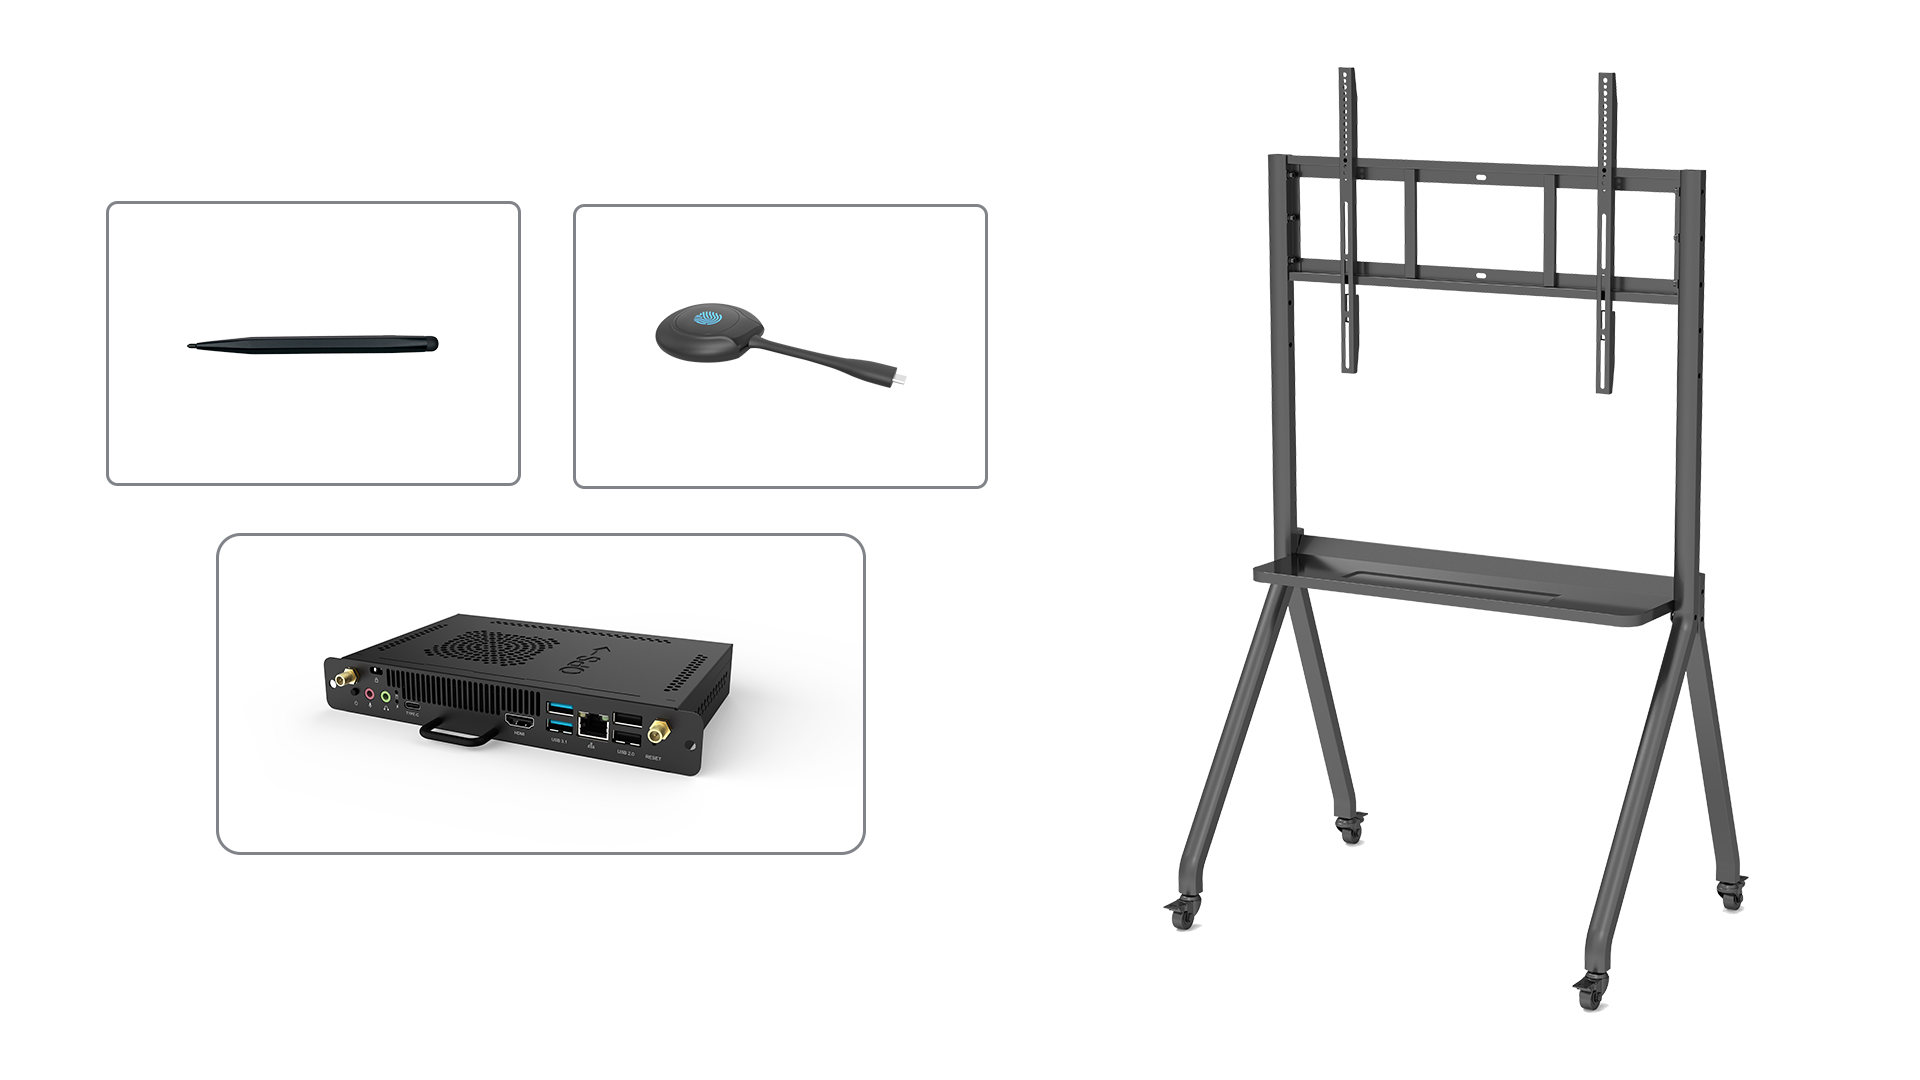
Once you have identified the ports on both your laptop and the smartboard, you need to select the appropriate cable or adapter to connect them. For example, if your laptop has an HDMI port and the smartboard has a VGA input port, you will need an HDMI to VGA adapter or cable. Ensure that the cable or adapter you choose supports both audio and video transmission, as some older adapters may only transmit video signals.
5. Connecting the Laptop to the Smartboard
Now that you have the necessary cable or adapter, it's time to connect your laptop to the smartboard. Start by turning off both your laptop and the smartboard. Connect one end of the cable or adapter to your laptop's output port and the other end to the smartboard's input port. Ensure that the connections are secure. Once the physical connection is established, power on both your laptop and the smartboard.
6. Configuring Display Settings
After the physical connection is established, you may need to configure the display settings on your laptop to ensure that the screen is properly mirrored or extended onto the smartboard. On most laptops, you can access the display settings by right-clicking on your desktop and selecting "Display Settings" or "Screen Resolution." In the display settings, you should be able to select the appropriate display mode, such as "Duplicate" or "Extend," depending on your preferences.
7. Calibrating the Smartboard
Once the laptop is connected and the display settings are configured, it is important to calibrate the smartboard to ensure accurate touch input. Calibrating the smartboard involves following the on-screen instructions to accurately align your touches with the display. This step is crucial for a seamless and responsive touch experience on the smartboard.
8. Troubleshooting Common Issues
While connecting a laptop to a smartboard is generally a straightforward process, you may encounter some common issues along the way. For example, if the screen is not displaying properly on the smartboard, check the cable connections and ensure that the correct input source is selected on the smartboard. If there is no audio, make sure that the audio settings on your laptop are configured to output audio through the connected display. If you are still experiencing issues, consult the user manual or contact the smartboard manufacturer for further assistance.
9. Exploring Interactive Features
Once your laptop is successfully connected to the smartboard, it's time to explore the interactive features and unleash the full potential of this powerful tool. Smartboards often come with specialized software that allows you to write, draw, annotate, and interact with the content displayed on the board. Familiarize yourself with these features to make your presentations and collaborations more engaging and interactive.
10. Disconnecting the Laptop
When you are finished using the smartboard, it is important to properly disconnect your laptop to avoid any potential damage. Start by turning off both the laptop and the smartboard. Then, gently remove the cable or adapter from both devices. Store the cable or adapter in a safe place for future use. Remember to power off the smartboard before disconnecting any cables to prevent any unforeseen electrical issues.

