

Introduction
Connecting a smartboard to a laptop can greatly enhance your productivity and make presentations or teaching more interactive. In this article, we will guide you through the process of connecting a smartboard to a laptop, step by step. Whether you are a teacher, presenter, or simply curious about smartboard technology, this guide will provide you with the necessary information to get started.
1. Understanding Smartboards
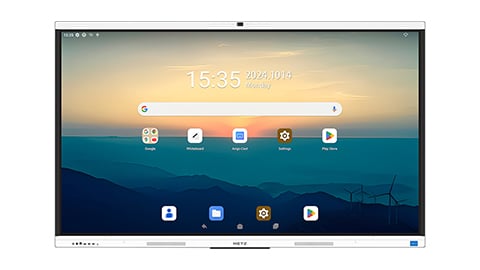
Before we delve into the process of connecting a smartboard to a laptop, it is essential to understand what a smartboard is. A smartboard, also known as an interactive whiteboard, is a touch-sensitive display that allows users to control and interact with the content displayed on it using a stylus or their fingers. It is a powerful tool that enables collaborative learning, engaging presentations, and interactive brainstorming sessions.
2. Checking Compatibility
Not all smartboards are compatible with every laptop. Therefore, it is important to check the compatibility before attempting to connect them. Most smartboards come with specific system requirements that need to be met for seamless integration. Check the manufacturer's website or user manual for information on compatibility or contact their support team for assistance.
3. Connecting via USB Cable
The most common method of connecting a smartboard to a laptop is through a USB cable. To do this, follow these steps:
- Ensure both the smartboard and laptop are powered off.
- Connect one end of the USB cable to the USB port on the smartboard.
- Connect the other end of the USB cable to an available USB port on your laptop.
- Power on both the smartboard and laptop.
Once the laptop recognizes the smartboard, you can start using it as an input device for your computer. If the smartboard does not work immediately, you may need to install the necessary drivers provided by the manufacturer.
4. Connecting via Bluetooth
Some smartboards also offer the option to connect to a laptop via Bluetooth. This method provides a wireless connection, eliminating the need for a physical USB cable. Here's how to connect a smartboard to a laptop via Bluetooth:
- Ensure both the smartboard and laptop have Bluetooth capabilities.
- Turn on Bluetooth on both devices.
- On your laptop, go to the Bluetooth settings and search for available devices.
- Select the smartboard from the list of available devices.
- Follow any on-screen prompts to complete the pairing process.
Once the pairing is successful, your laptop should recognize the smartboard, and you can start using it wirelessly. Keep in mind that the steps may vary slightly depending on your laptop's operating system and the smartboard model.
5. Configuring Display Settings
After connecting the smartboard to your laptop, you may need to configure the display settings to ensure optimal performance. To do this:
- Go to the "Display Settings" on your laptop.
- Select the connected smartboard as the primary display.
- Adjust the screen resolution and orientation if necessary.
Configuring the display settings correctly will ensure that the content displayed on the smartboard is aligned with your laptop's screen, avoiding any misalignment issues.
6. Installing Smartboard Software
In order to fully utilize the features and functionality of your smartboard, it is recommended to install the manufacturer's smartboard software. This software provides additional tools, interactive features, and compatibility enhancements. Visit the manufacturer's website and download the appropriate software for your laptop's operating system. Follow the installation instructions provided by the manufacturer to successfully install the software.
7. Troubleshooting Common Issues
While connecting a smartboard to a laptop is usually a straightforward process, you may encounter some common issues. Here are a few troubleshooting tips:
- Ensure all cables are securely connected.
- Restart both the smartboard and laptop.
- Update the smartboard drivers and software.
- Check for any software conflicts on your laptop.
- Contact the smartboard manufacturer's support team for further assistance.
8. Exploring Smartboard Features
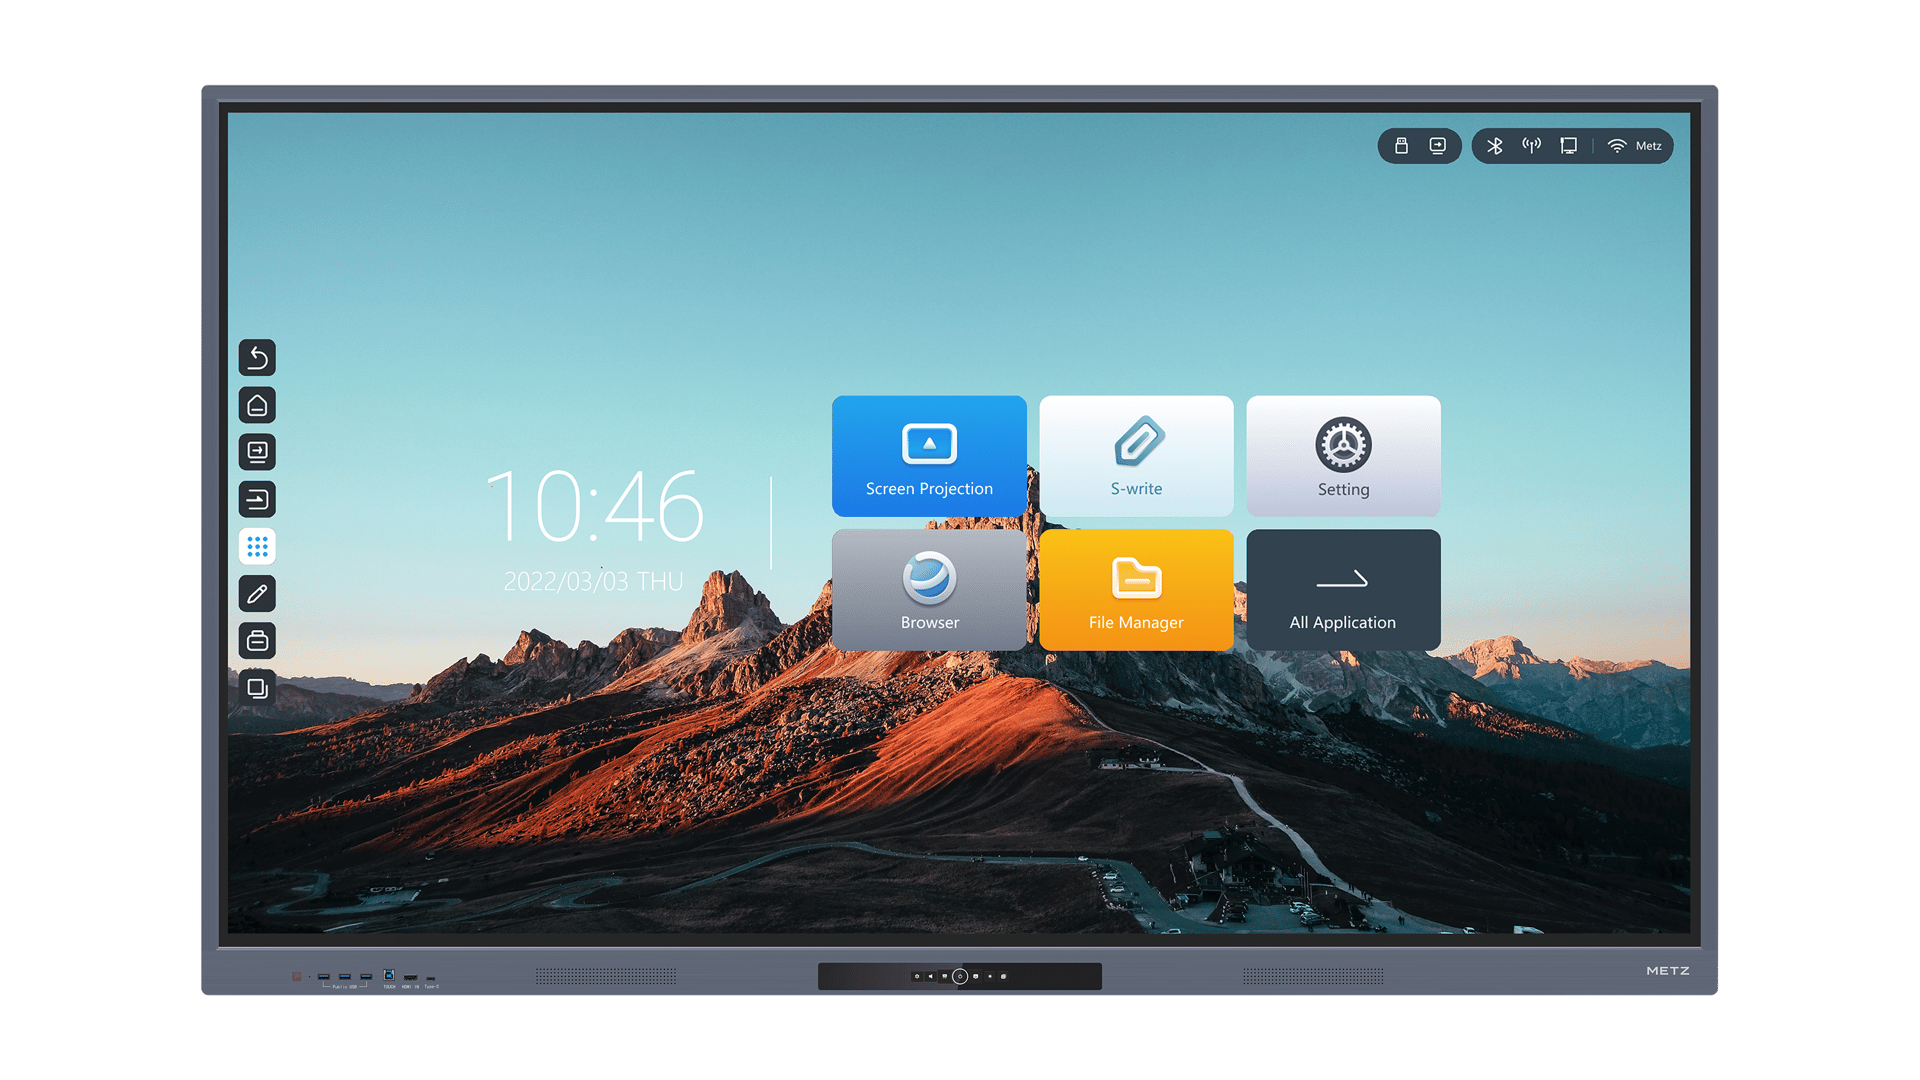
Once your smartboard is successfully connected to your laptop, it's time to explore its features and unleash its potential. Smartboards offer a wide range of features, including touch gestures, handwriting recognition, multimedia integration, and collaboration tools. Take some time to familiarize yourself with the user manual and experiment with different features to make the most out of your smartboard.
9. Integrating Smartboard in Education
Smartboards have revolutionized the way education is delivered in classrooms. They provide an interactive and engaging learning environment, making lessons more interesting and effective. Teachers can use smartboards to create interactive presentations, annotate content in real-time, and collaborate with students. The possibilities are endless, and the integration of smartboards in education continues to evolve.
10. Conclusion
Connecting a smartboard to a laptop opens up a world of possibilities for interactive presentations, teaching, and collaboration. By following the steps outlined in this guide, you can easily connect your smartboard to your laptop, whether through a USB cable or Bluetooth. Remember to check compatibility, configure display settings, install the necessary software, and explore the various features of your smartboard. Enjoy the enhanced productivity and engagement that a smartboard brings to your work or educational environment.