
Introduction
Smart boards have revolutionized the way we interact with technology in classrooms, boardrooms, and various other settings. These interactive whiteboards offer a host of features and benefits that enhance collaboration and engagement. However, connecting to a smart board can sometimes be a daunting task, especially for those who are new to this technology. In this article, we will provide you with a step-by-step guide on how to connect to a smart board, ensuring that you can make the most of this innovative tool.
Understanding the Basics
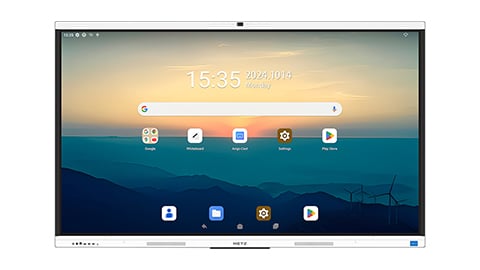
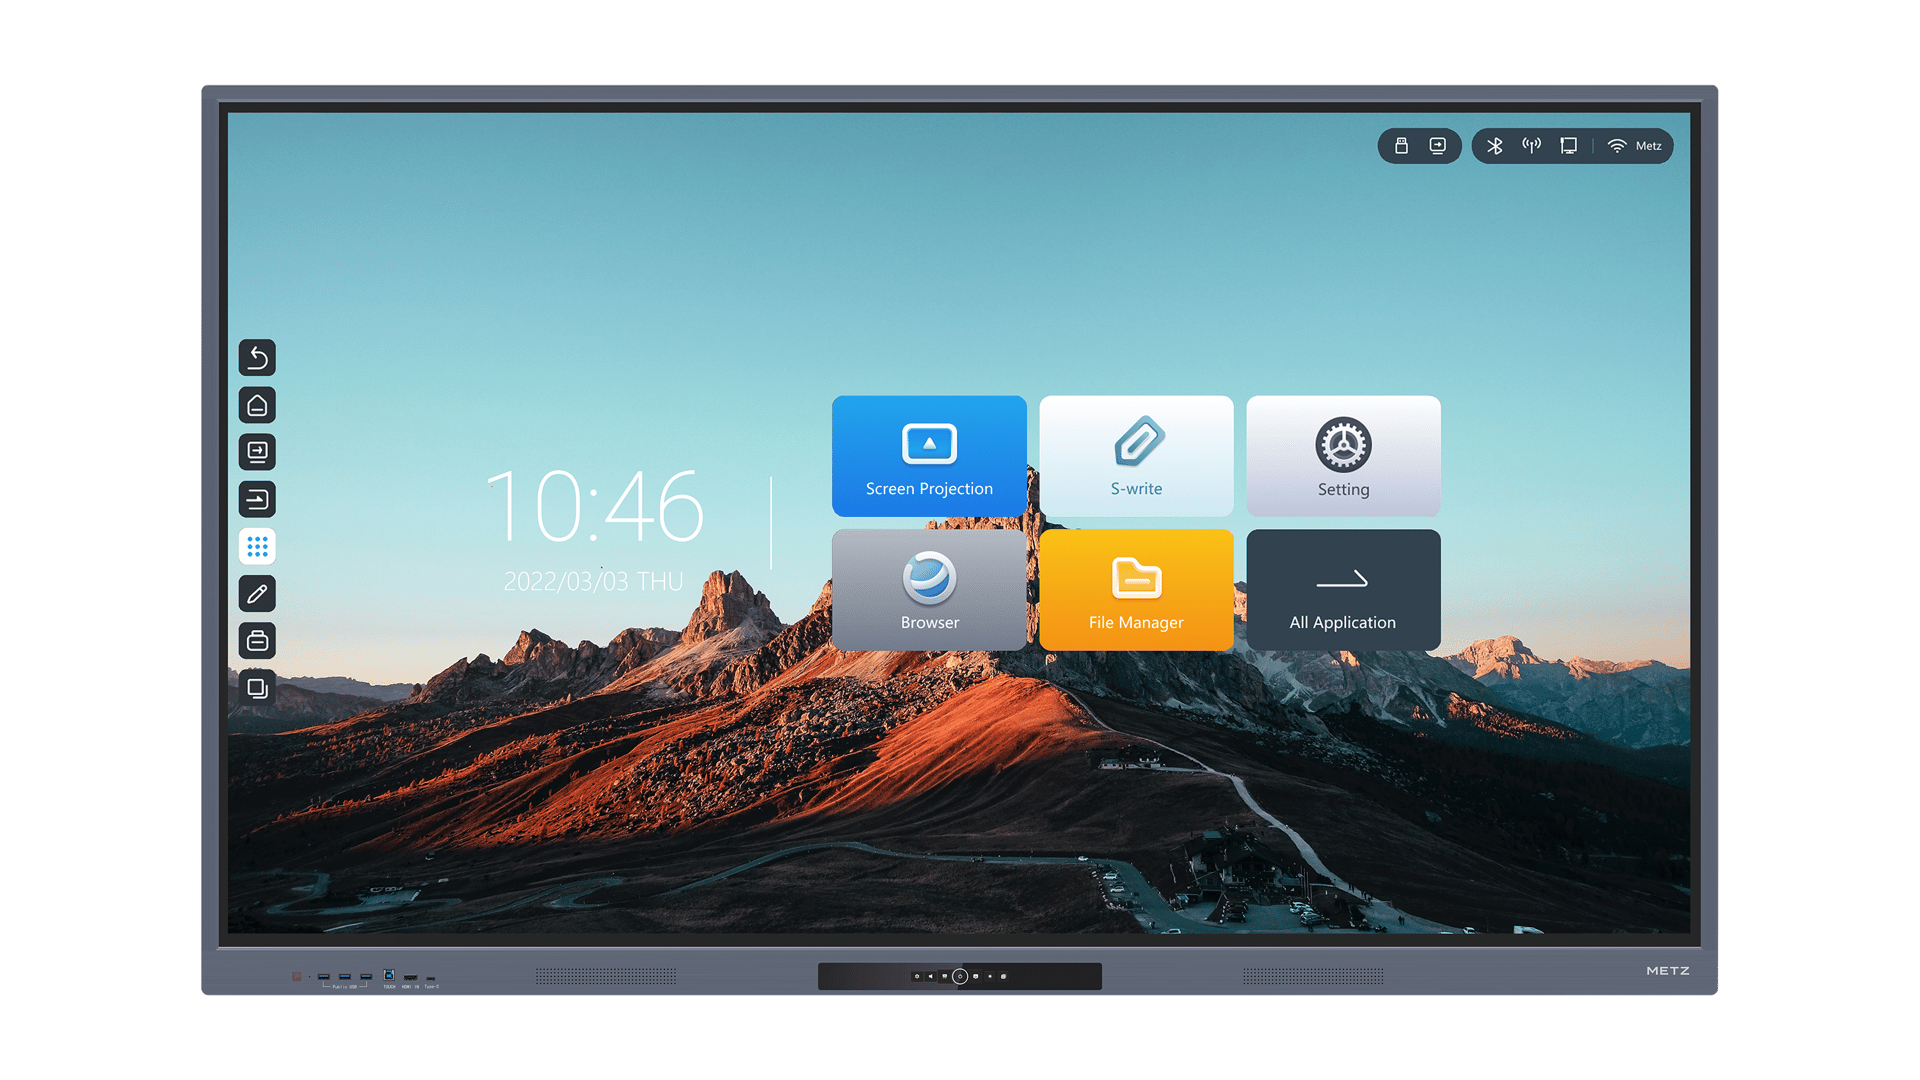
Before we delve into the specifics of connecting to a smart board, it's essential to understand the basics. A smart board is essentially a touch-sensitive display that connects to a computer or other devices, enabling users to interact with displayed content using their fingers or a stylus. The board acts as an extension of the connected device, allowing you to control applications, annotate presentations, and perform various other functions.
Connection Options
When it comes to connecting to a smart board, you have several options depending on the model and your specific requirements. The most common connection options include:
1. Wired Connection
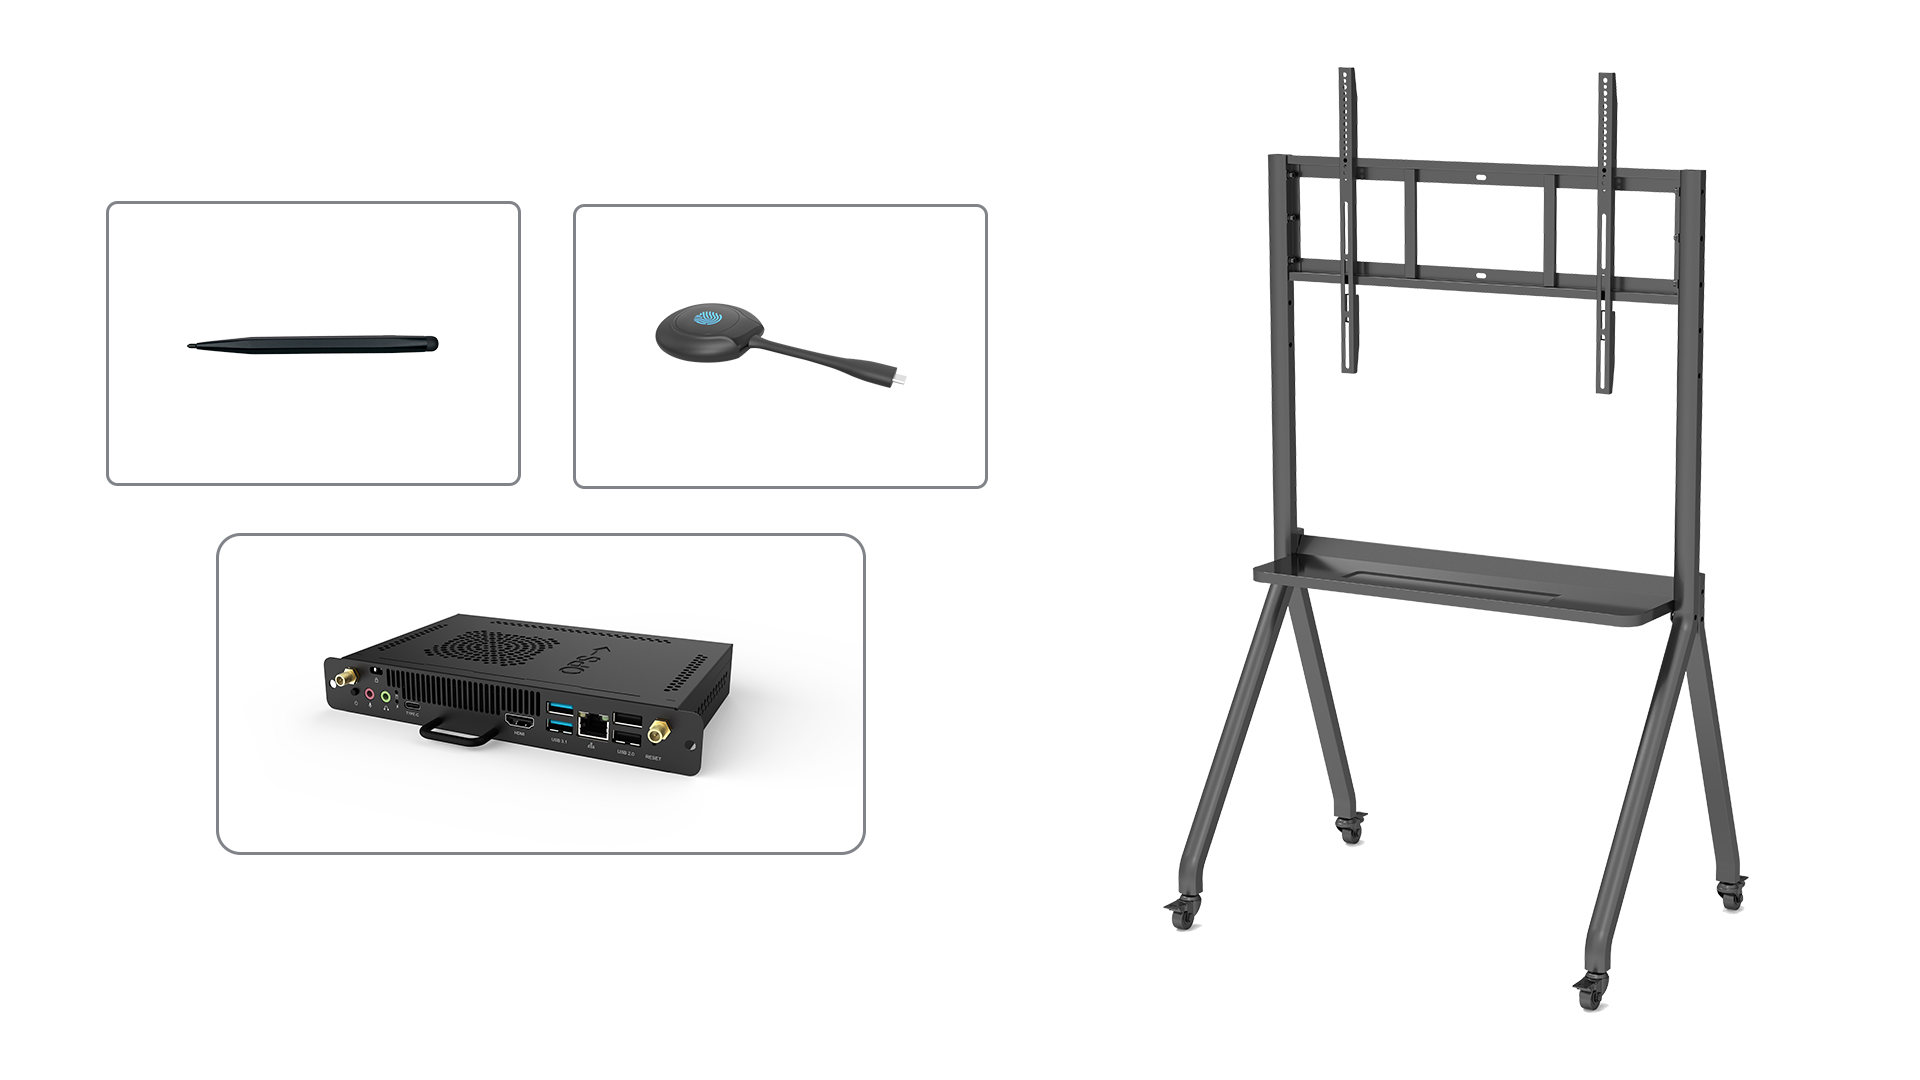
A wired connection involves connecting your computer or device to the smart board using a physical cable. This is often done using an HDMI or VGA cable, depending on the available ports on your device and the smart board. This method offers a reliable and straightforward connection, ensuring minimal latency and a stable connection.
2. Wireless Connection
If you prefer a cable-free setup or have multiple devices that need to connect to the smart board simultaneously, a wireless connection is an ideal choice. This typically involves using Bluetooth or Wi-Fi connectivity options to establish a connection between your device and the smart board. Wireless connections offer flexibility and convenience, allowing you to move around the room without being tethered to the board.
Step-by-Step Guide
Now that you have a basic understanding of smart boards and the available connection options, let's walk through the step-by-step process of connecting to a smart board:
Step 1: Check Compatibility
Before attempting to connect your device to a smart board, ensure that your device and the smart board are compatible. Verify the supported connection types and required software or drivers for your specific smart board model. This information can usually be found in the user manual or on the manufacturer's website.
Step 2: Gather the Necessary Cables
If you are opting for a wired connection, gather the appropriate cables based on the available ports on your device and the smart board. HDMI and VGA cables are commonly used for this purpose. Ensure that the cables are in good condition and securely connect both ends.
Step 3: Connect the Cables
Connect one end of the cable to the appropriate port on your device and the other end to the corresponding port on the smart board. Ensure that the connections are secure to prevent any interruptions or loose connections during operation.
Step 4: Power On
Power on your device and the smart board. Make sure that both devices are properly powered to establish a successful connection. If the smart board has a separate power source, ensure that it is connected and turned on.
Step 5: Configure Display Settings
Once the connection is established, you may need to configure the display settings on your device to extend or duplicate the screen onto the smart board. This can usually be done through the display settings on your operating system. Follow the on-screen instructions and select the appropriate display options.
Step 6: Install Required Software
In some cases, you may need to install specific software or drivers provided by the smart board manufacturer to enable full functionality. Check the user manual or the manufacturer's website for any required software installations. Follow the provided instructions to complete the installation process.
Step 7: Test the Connection
Once the software is installed and the display settings are configured, it's time to test the connection. Open an application or presentation and interact with the content using the smart board. Verify that the touch inputs and other features are working correctly.
Step 8: Troubleshooting
If you encounter any issues during the connection process or while using the smart board, refer to the troubleshooting section in the user manual or the manufacturer's website. This will provide you with specific solutions to common problems and ensure a smooth and uninterrupted experience.
Conclusion
Connecting to a smart board may seem complex at first, but by following the steps outlined in this article, you can easily establish a connection and unlock the full potential of this remarkable tool. Whether you choose a wired or wireless connection, always ensure compatibility, gather the necessary cables, and configure the settings correctly. With a properly connected smart board, you can enhance collaboration, engage your audience, and create dynamic presentations like never before.