Introduction
Welcome to our comprehensive guide on how to set up a Smartboard. Smartboards are interactive whiteboards that have revolutionized the way we teach and present information. In this article, we will walk you through the process of setting up a Smartboard, from unpacking the equipment to calibrating it for optimal performance.
1. Unpacking and Checking the Contents
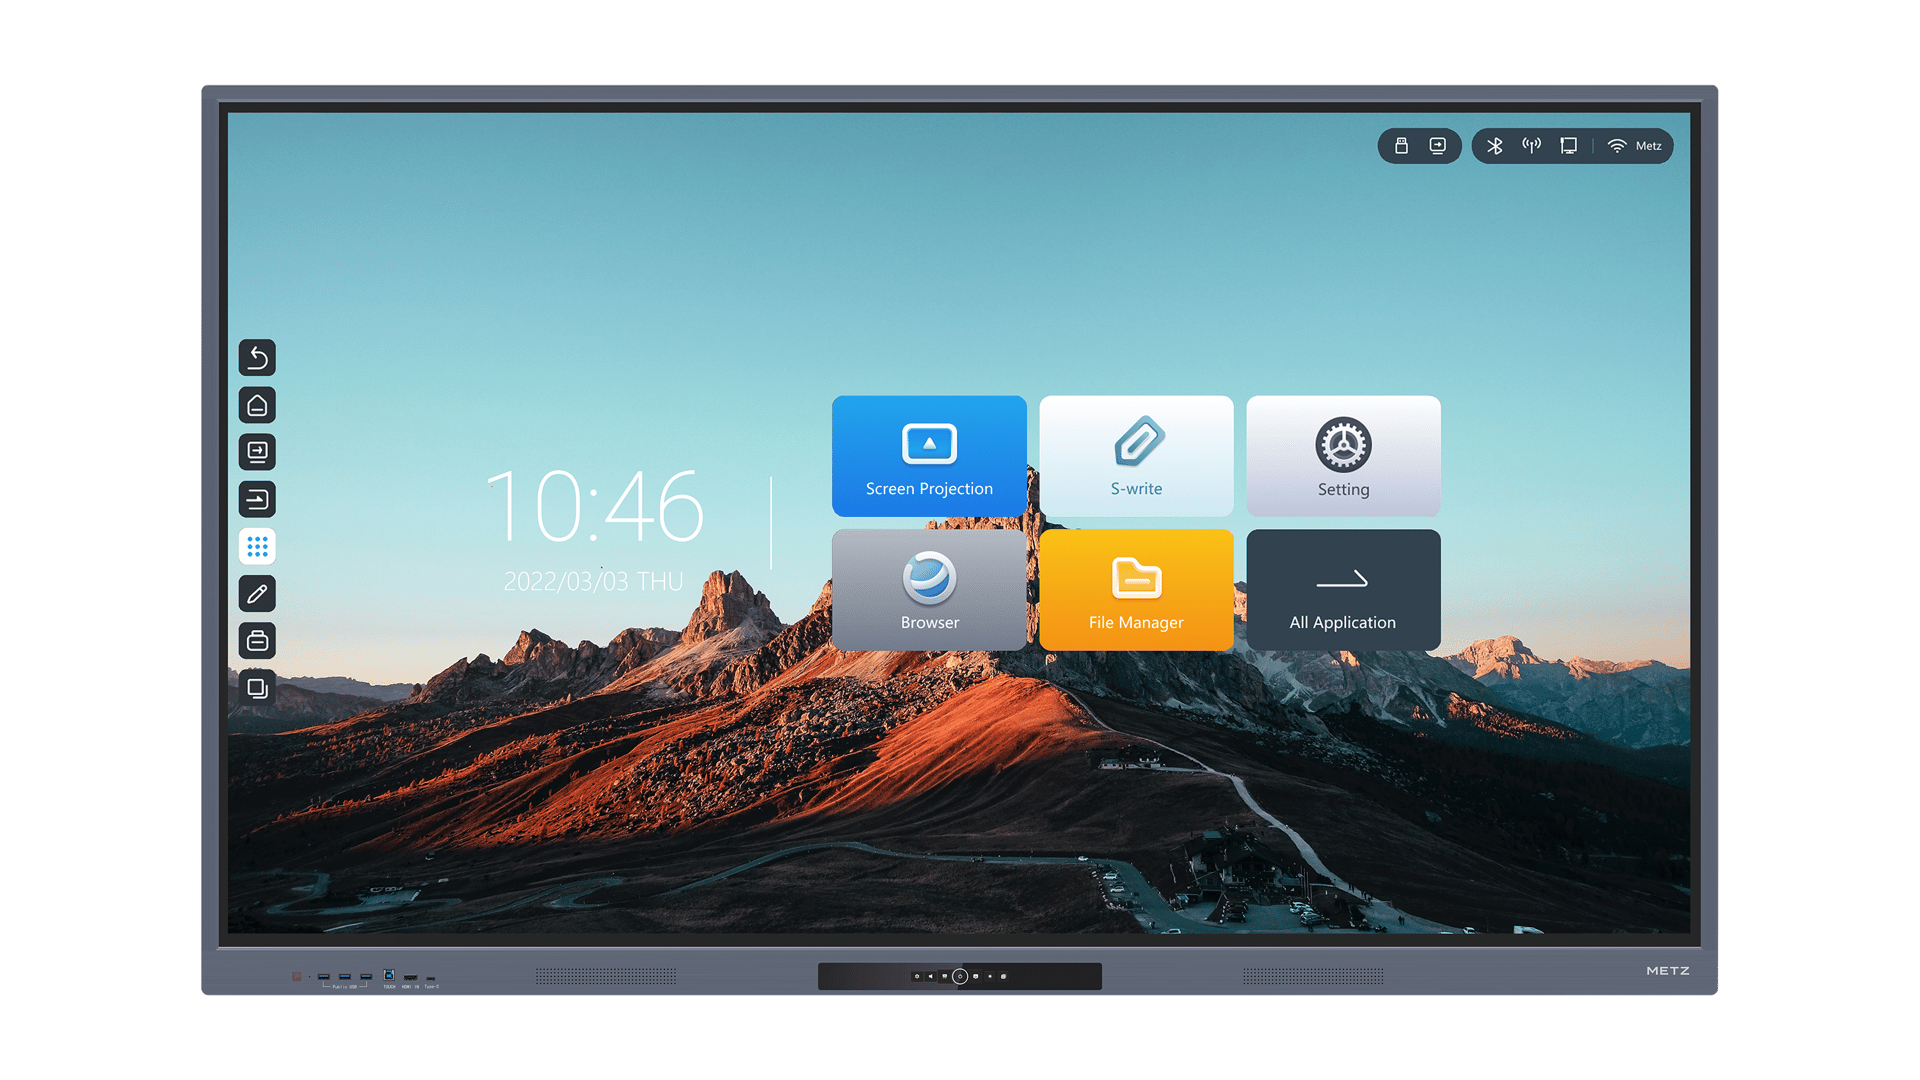
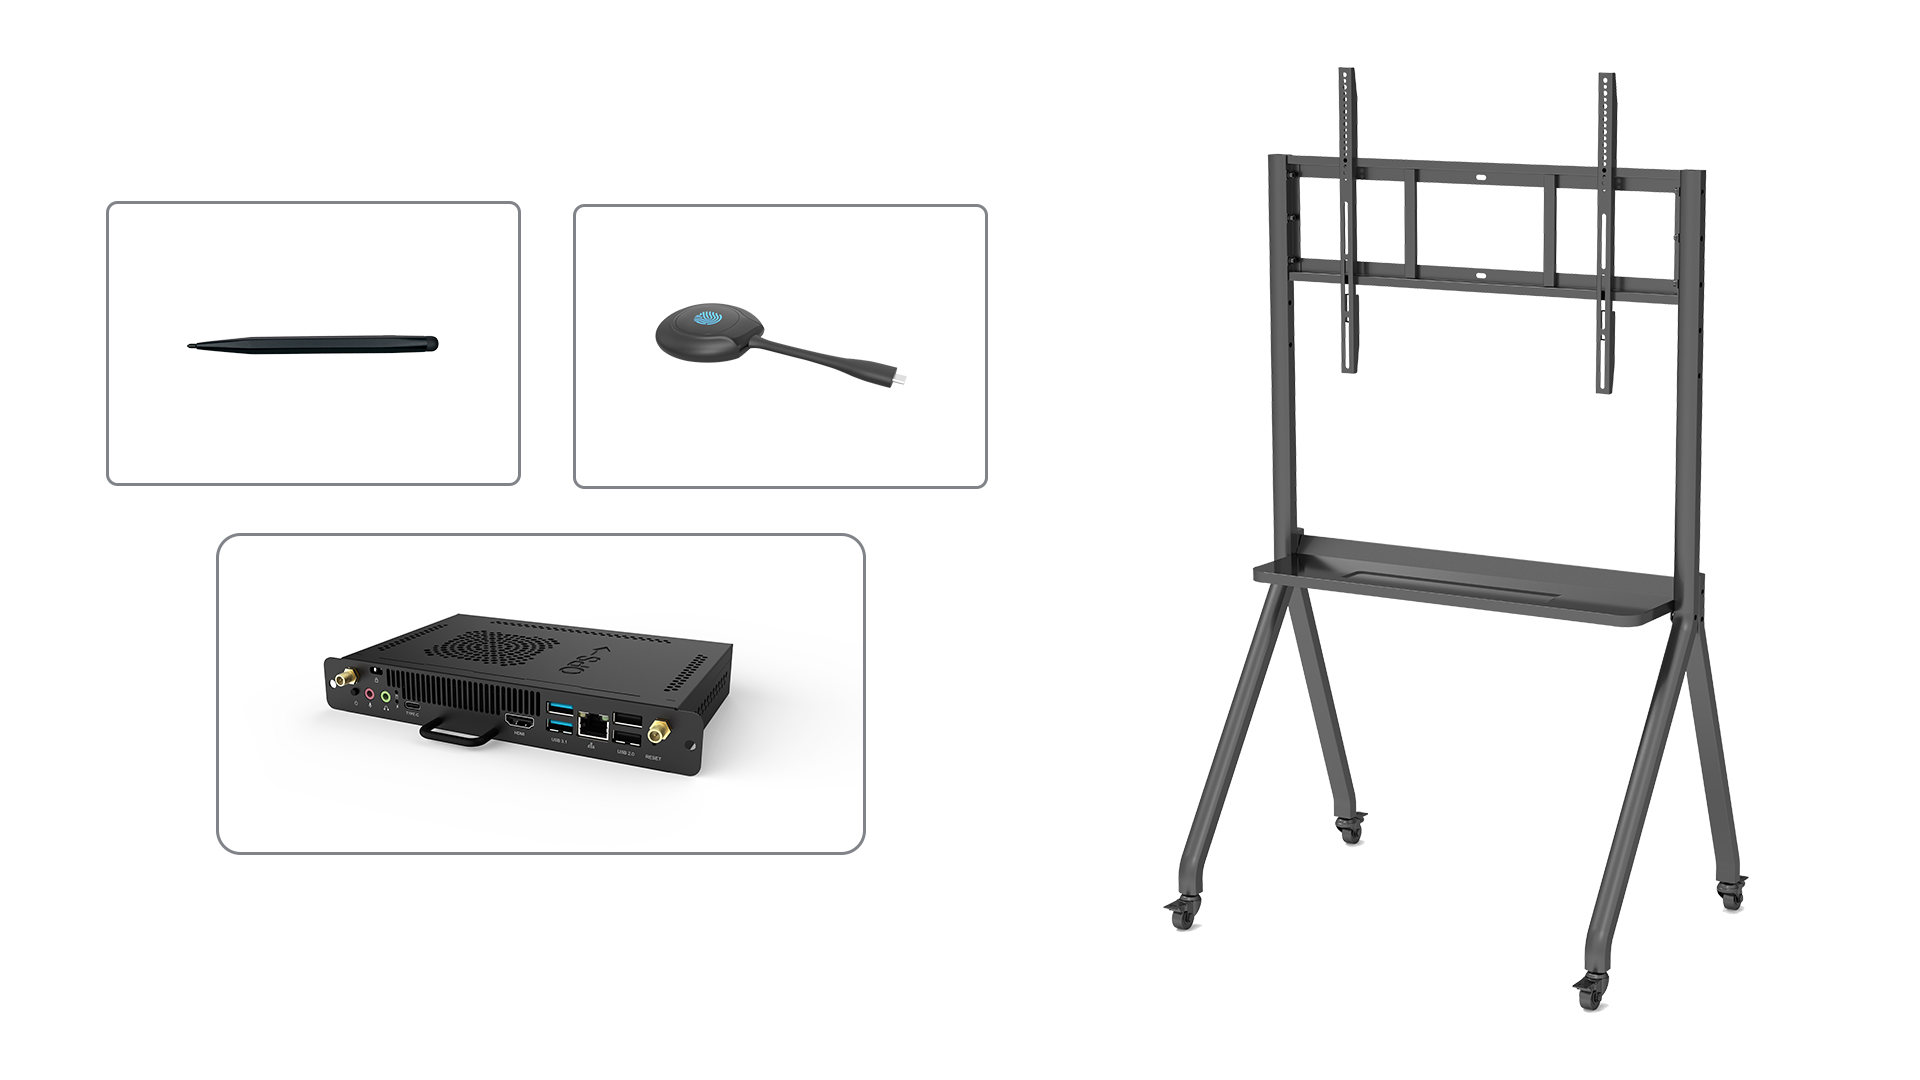
Before you start setting up your Smartboard, it is important to ensure that all the necessary components are present. Carefully unpack the box and check if it includes the Smartboard itself, a projector, cables, and any other accessories that may be included. This step will help you avoid any surprises or missing items later on.
2. Choosing the Right Location
When setting up your Smartboard, it is crucial to select an appropriate location. Choose a room with enough space to accommodate the Smartboard and allow for comfortable movement around it. Consider factors such as the availability of power outlets, lighting conditions, and the distance from the audience. A well-thought-out location will enhance the overall usability and effectiveness of the Smartboard.
3. Mounting the Smartboard
Now that you have chosen the location, it's time to mount the Smartboard. Follow the manufacturer's instructions to securely attach the Smartboard to the wall or a dedicated stand. Ensure that the mounting brackets are level and properly aligned. Take into account the height and angle at which the Smartboard will be most comfortable for users to interact with.
4. Connecting the Projector
The next step in setting up your Smartboard is connecting the projector. Locate the projector in a suitable position that allows for clear projection onto the Smartboard surface. Connect the appropriate cables between the projector and the Smartboard, ensuring a secure and stable connection. Consult the projector's manual for specific instructions on connecting it to the Smartboard.
5. Adjusting the Projector Settings
Once the projector is connected, it is essential to adjust its settings for optimal display quality. Use the projector's menu to fine-tune parameters such as brightness, contrast, and resolution. These adjustments will help ensure that the projected image is clear, vibrant, and properly aligned with the Smartboard surface.
6. Calibrating the Smartboard
Calibrating the Smartboard is a crucial step to ensure accurate touch and pen input. Most Smartboards come with built-in calibration software that guides you through the process. Follow the on-screen instructions to calibrate the board by touching specific points on the screen. Calibration will help the Smartboard accurately track your touch and pen inputs, enhancing the overall user experience.
7. Installing Smartboard Software
To fully utilize the capabilities of your Smartboard, you will need to install the necessary software. Visit the manufacturer's website or use the provided installation media to download and install the Smartboard software on your computer. The software will enable you to create, annotate, and interact with content on the Smartboard, unlocking its full potential.
8. Testing the Smartboard
After completing the setup and installation process, it's time to test your Smartboard. Open the Smartboard software and ensure that it recognizes your touch and pen inputs accurately. Test various features and functionalities, such as writing, drawing, and interacting with multimedia content. This step will help you familiarize yourself with the Smartboard and identify any potential issues that might require troubleshooting.
9. Exploring Advanced Features
Once you have mastered the basic setup and functionality of your Smartboard, it's time to explore its advanced features. Smartboards offer a wide range of capabilities, such as integration with other devices, support for third-party applications, and collaboration tools. Take the time to learn about these features and leverage them to enhance your teaching or presentation experience.
10. Troubleshooting Common Issues
Even with careful setup, you may encounter some common issues with your Smartboard. These can include calibration problems, connectivity issues, or software glitches. Refer to the manufacturer's documentation or online resources to troubleshoot and resolve these issues. In case of hardware malfunctions, contact the manufacturer's support for further assistance.
Conclusion
Congratulations on successfully setting up your Smartboard! In this article, we have provided you with a step-by-step guide to help you set up your Smartboard and maximize its functionality. By following these instructions and exploring the advanced features, you will be able to create engaging and interactive presentations, lessons, and meetings that captivate your audience.


