Introduction
Smartboards have revolutionized the way we interact with technology in educational and corporate settings. These interactive whiteboards offer a wide range of features and benefits that enhance collaboration, engagement, and productivity. If you are considering a smartboard installation, this article will guide you through the process, highlighting important aspects and considerations to ensure a successful implementation.
1. Understanding Smartboard Technology
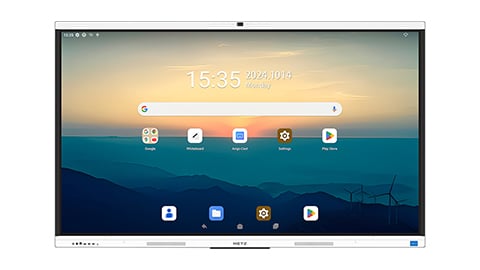
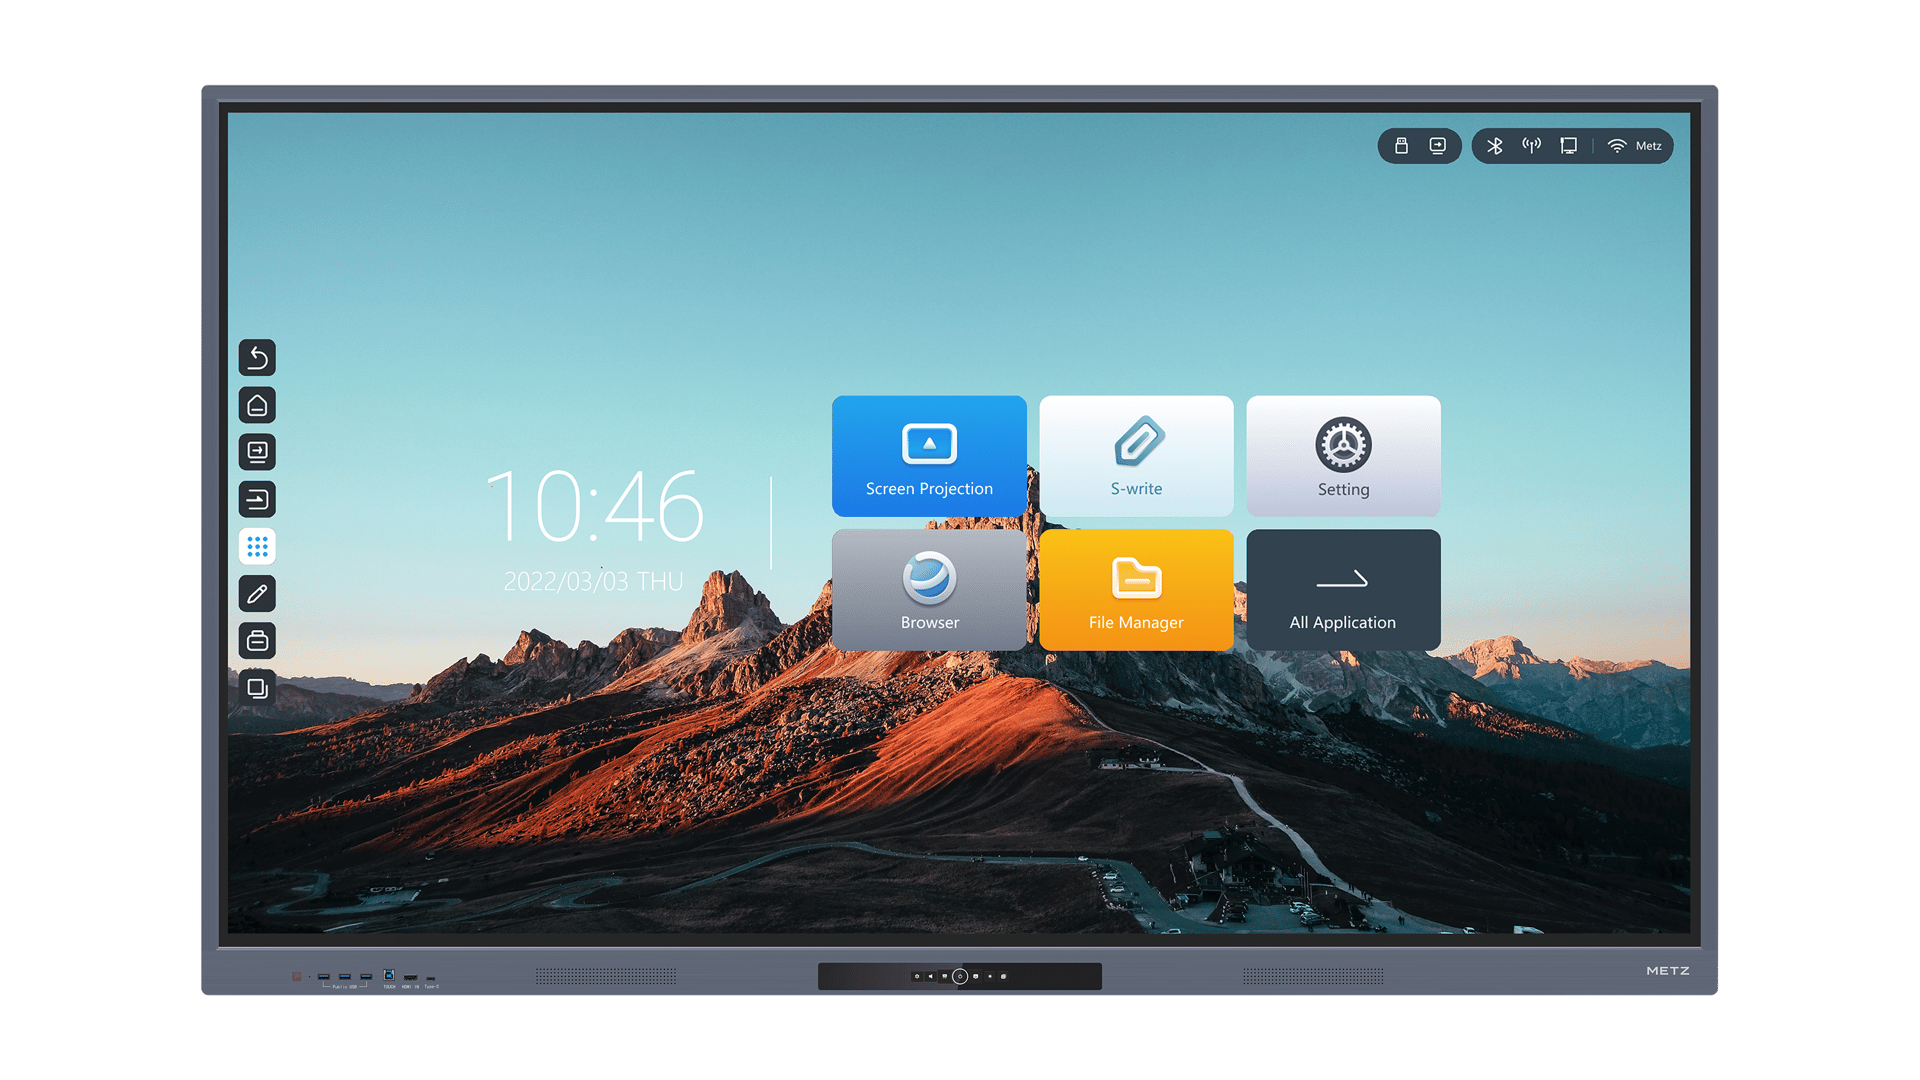
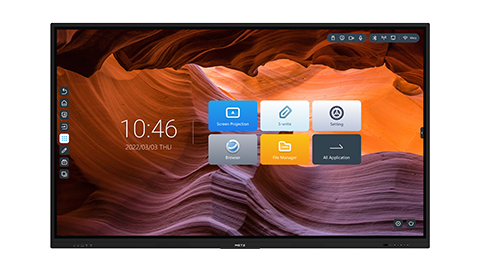
Before diving into the installation process, it is crucial to understand the technology behind smartboards. Smartboards are interactive whiteboards that enable users to control and manipulate digital content using touch gestures, digital pens, or other input devices. These devices combine a display with touch-sensitive capabilities, providing an intuitive and interactive user experience.
2. Assessing Your Needs and Budget
Prior to the installation, it is important to assess your specific needs and budget. Consider the size of the space where the smartboard will be installed, the number of users expected to interact with it, and the desired features and functionalities. Additionally, determine your budget for the installation, as this will impact the type and model of smartboard you can choose.
3. Choosing the Right Smartboard
There are various types and models of smartboards available in the market. Each comes with its own set of features and price points. Factors to consider when choosing the right smartboard include the display size, resolution, touch technology, compatibility with devices and software, and support for additional features such as multi-touch and multi-user capabilities. Take the time to research and compare different options to find the one that best suits your needs and budget.
4. Preparing the Installation Space
Before the installation, it is important to prepare the space where the smartboard will be placed. Ensure that the wall or surface where the smartboard will be mounted is sturdy enough to support its weight. Clear the area of any obstructions and ensure proper lighting conditions for optimal visibility. Additionally, consider the placement of power outlets and connectivity options to avoid any limitations during the installation process.
5. Mounting the Smartboard
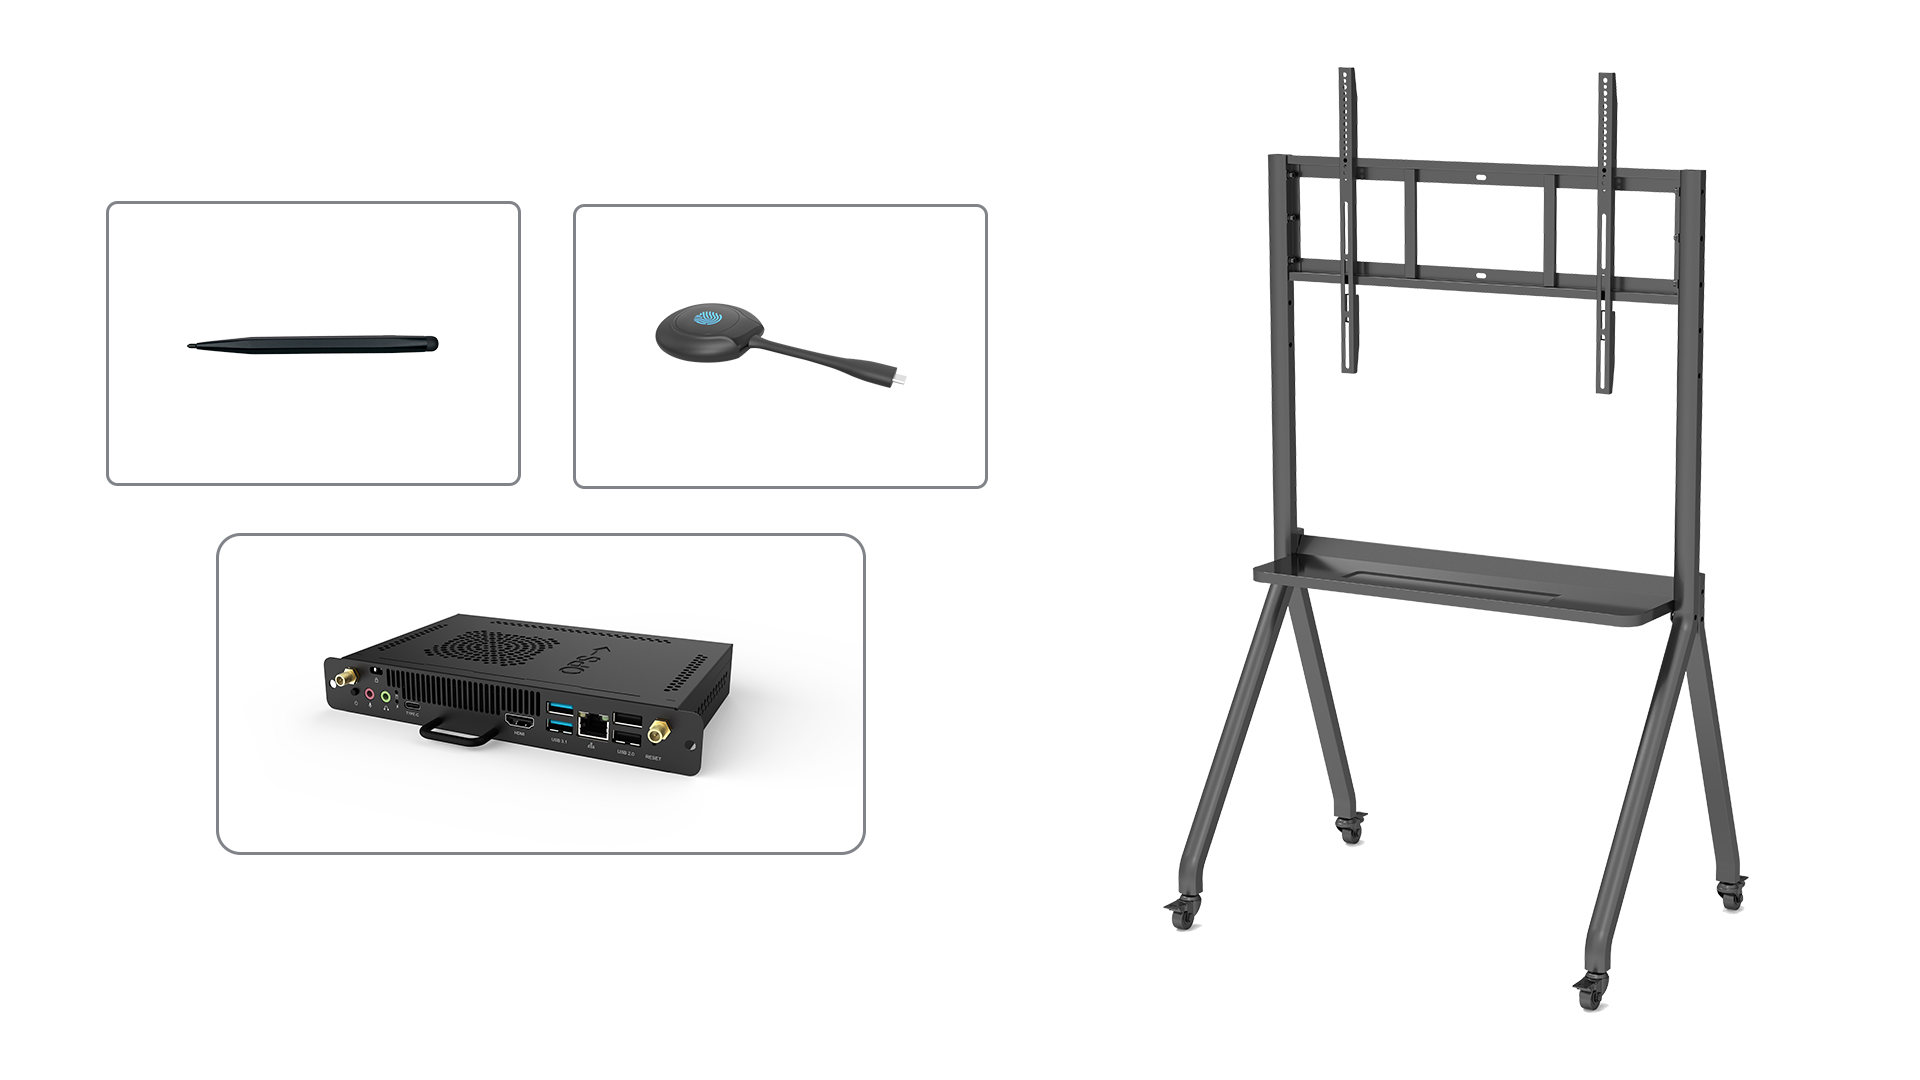
The next step in the installation process is mounting the smartboard. Follow the manufacturer's instructions carefully to ensure proper and secure installation. Depending on the model, smartboards can be mounted directly on the wall or on a movable stand. Pay attention to the height and angle of the smartboard to ensure comfortable and ergonomic use for all users.
6. Connecting and Configuring the Smartboard
Once the smartboard is mounted, the next step is to connect and configure it. Smartboards typically require connections to a computer or other devices to function properly. Ensure that all necessary cables are properly connected and that the device is recognized by the computer's operating system. Install any required software or drivers and calibrate the touch sensitivity if necessary.
7. Testing and Troubleshooting
After the initial setup, it is important to thoroughly test the smartboard to ensure everything is functioning as expected. Test touch sensitivity, gesture recognition, and any additional features or accessories. If any issues arise, consult the user manual or contact technical support for troubleshooting assistance. It is also beneficial to train users on how to effectively utilize the smartboard to maximize its potential.
8. Integrating Smartboard into Your Workflow
Once the smartboard is installed and fully functional, it is important to integrate it into your workflow effectively. Educators can incorporate smartboard activities into lesson plans to enhance student engagement and interactivity. In corporate settings, smartboards can be used for collaborative brainstorming sessions, presentations, and interactive meetings. Explore the various software applications and tools available that are specifically designed for smartboards to further enhance productivity and creativity.
9. Maintenance and Care
Maintaining the smartboard is crucial to ensure its longevity and optimal performance. Regularly clean the surface of the smartboard using a soft, lint-free cloth and a non-abrasive cleaning solution. Avoid using harsh chemicals or abrasive materials that may damage the screen. Additionally, periodically check for any loose cables or connections and ensure that the software and firmware are up to date.
10. Expanding Your Smartboard Setup
As your needs evolve or your organization grows, you may consider expanding your smartboard setup. This could involve adding additional smartboards in different rooms or connecting multiple smartboards for a larger collaborative workspace. Consult with a smartboard installation expert to assess the feasibility and best practices for expanding your smartboard setup.

