Introduction
Smartboards have become popular tools in classrooms and boardrooms alike, allowing for interactive and engaging presentations. Connecting a smartboard to a laptop is a straightforward process that can enhance your presentations and make collaboration easier. In this article, we will guide you through the steps to connect a smartboard to a laptop, ensuring a seamless and efficient setup.
1. Understanding the Smartboard
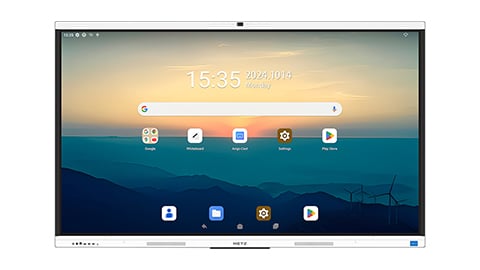
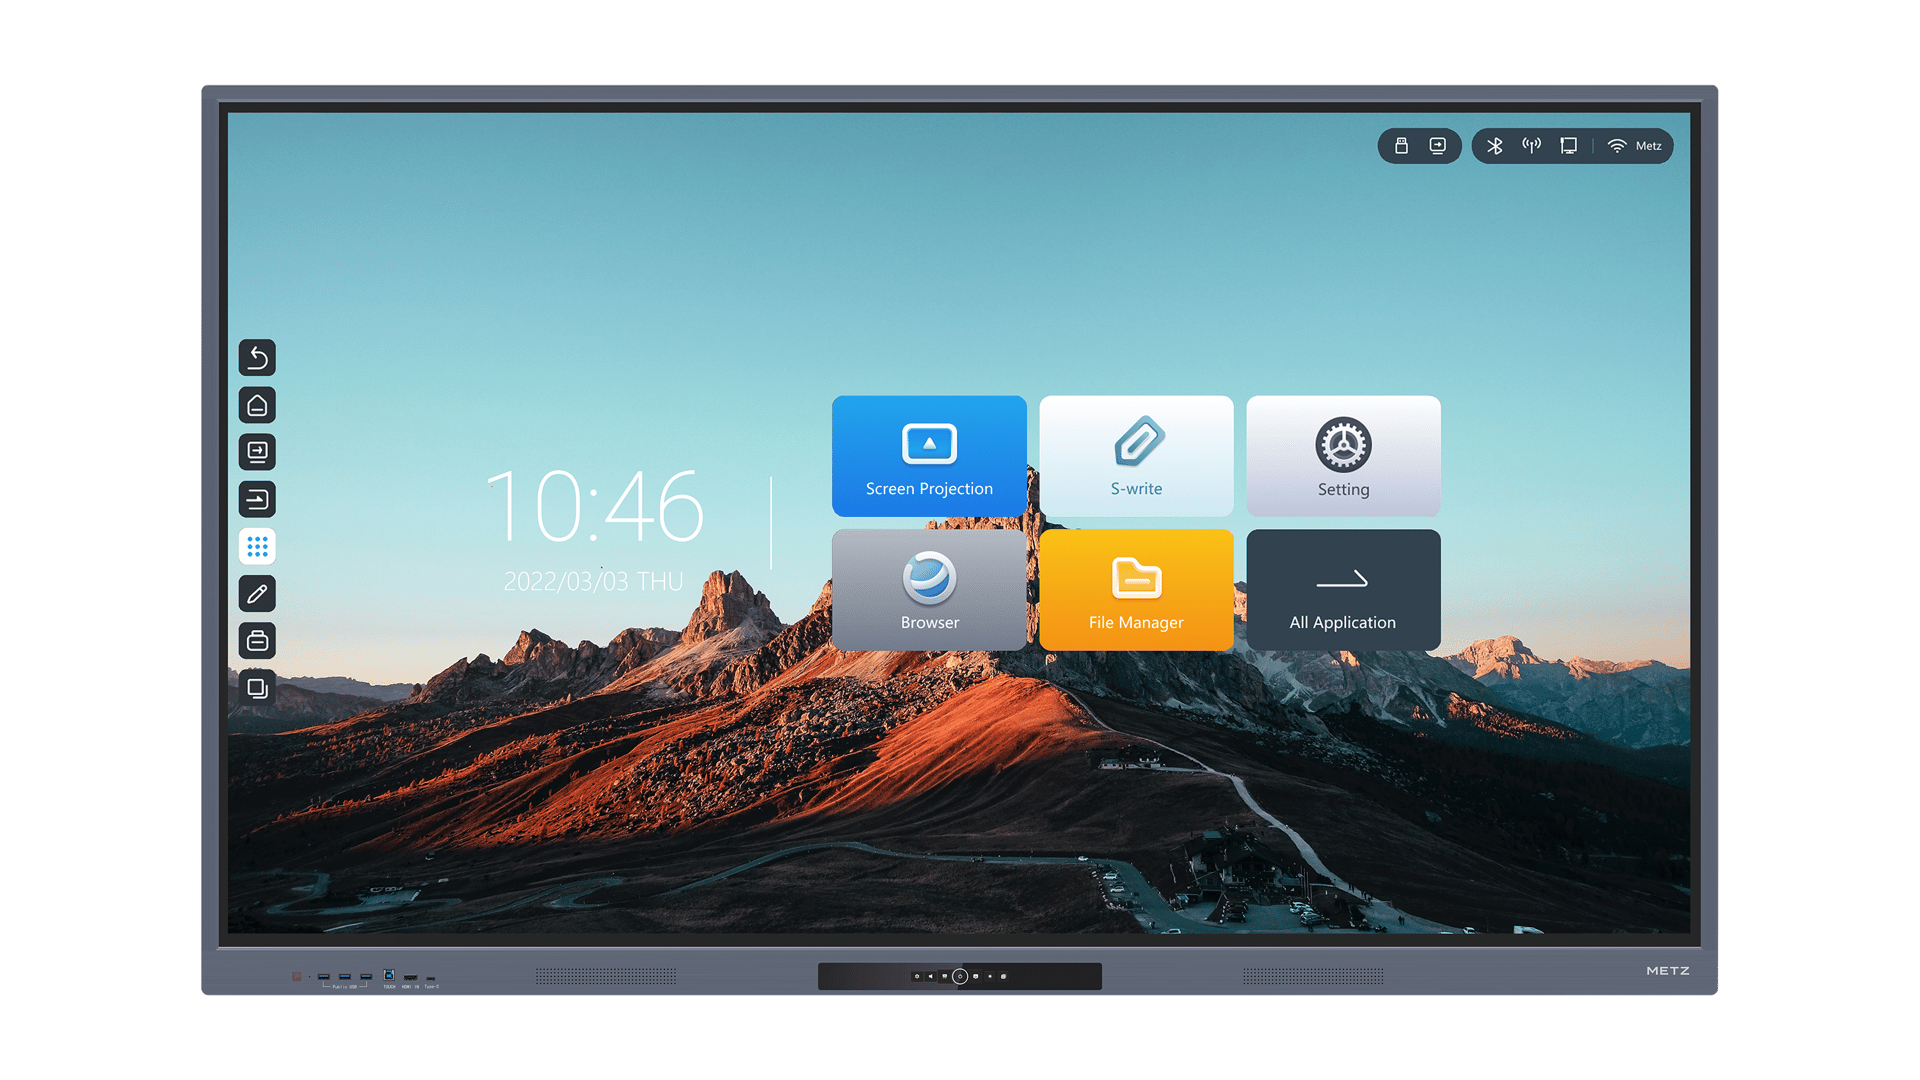
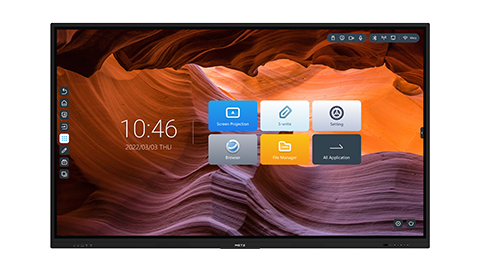
Before diving into the technicalities, it's essential to understand what a smartboard is. A smartboard, also known as an interactive whiteboard, is a touch-sensitive display that allows users to interact with digital content using their fingers or a stylus. It combines the functionality of a traditional whiteboard with the power of a computer, making it an invaluable tool for presentations and teaching.
2. Check Compatibility and Requirements
Before connecting your smartboard to a laptop, it's crucial to ensure compatibility between the two devices. Smartboards typically come with specific connectivity options, such as USB or HDMI. Check the specifications of your smartboard and laptop to identify the available ports and cables required for connection. Additionally, make sure your laptop's operating system supports smartboard software, as this may vary depending on the brand and model.
3. Gather the Necessary Cables and Adapters
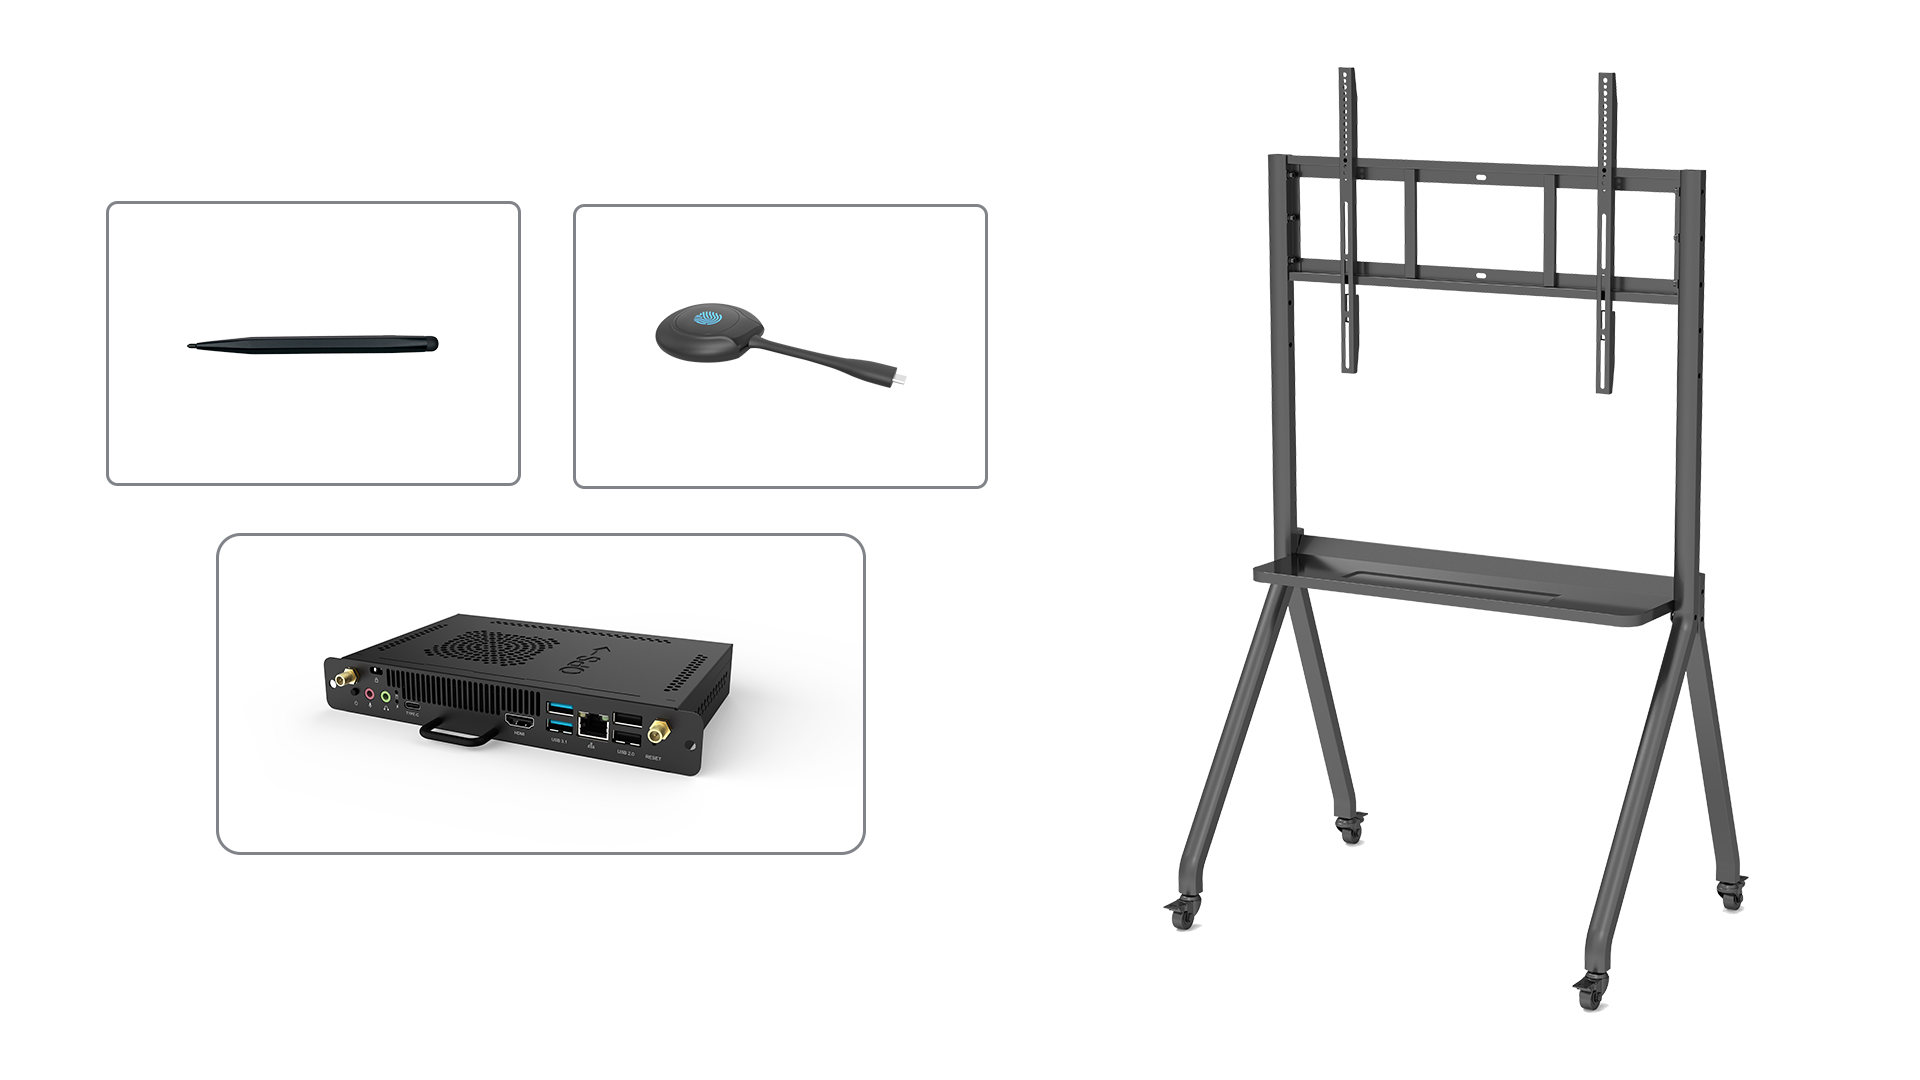
Depending on the smartboard and laptop models, you may need specific cables or adapters to establish the connection. Commonly used cables include HDMI, USB, and VGA. If your laptop and smartboard have different port types, such as HDMI on the laptop and VGA on the smartboard, you will need a suitable adapter to bridge the gap. Ensure you have all the necessary cables and adapters before proceeding with the setup.
4. Connect the Smartboard to the Laptop
Now that you have identified the required cables and adapters, it's time to connect the smartboard to the laptop. Start by powering off both devices to avoid any potential damage. Connect one end of the cable to the appropriate port on the smartboard and the other end to the corresponding port on the laptop. Make sure the connections are secure, and the cables are properly inserted.
5. Install Smartboard Software
To fully utilize the features of your smartboard, you need to install the necessary software on your laptop. Most smartboard manufacturers provide dedicated software that enables seamless interaction with the board. Visit the manufacturer's website, locate the software section, and download the appropriate software for your laptop's operating system. Follow the installation instructions provided with the software to ensure a successful setup.
6. Configure Display Settings
After installing the smartboard software, you may need to configure the display settings on your laptop. Open the display settings menu on your laptop and ensure that the smartboard is recognized as an additional display. Adjust the resolution and orientation settings as per your preference. This step ensures that the content on your laptop screen can be properly displayed on the smartboard.
7. Calibrate the Smartboard
Calibrating your smartboard is crucial for accurate touch response and functionality. Most smartboard software includes a calibration tool that guides you through the process. Launch the software, locate the calibration option, and follow the on-screen instructions. During calibration, ensure that you use a stylus or your finger to accurately touch the specified points on the smartboard. After calibration, the touch accuracy should be greatly improved.
8. Test the Connection and Interactivity
With the physical setup and software installation complete, it's time to test the connection and interactivity of your smartboard. Power on both the smartboard and laptop, and launch the smartboard software. Touch the smartboard with your finger or stylus to ensure that the touch response is accurate and that your actions are reflected on the laptop screen. Test different interactive features, such as drawing, writing, and navigating through presentations, to ensure everything is functioning correctly.
9. Troubleshooting Common Issues
If you encounter any issues during the smartboard setup, there are a few troubleshooting steps you can follow. Firstly, double-check all the connections and ensure they are secure. Try using a different cable or adapter if you suspect a faulty connection. Restart both the smartboard and laptop to refresh the system. If the issue persists, consult the smartboard's user manual or contact technical support for further assistance.
10. Expanding Your Smartboard Experience
Now that you have successfully connected your smartboard to your laptop, you can explore the various ways to enhance your smartboard experience. Consider utilizing additional software applications, such as interactive educational tools or collaborative whiteboarding platforms, to make your presentations and lessons more engaging. Stay up to date with the latest smartboard technologies and features to maximize the potential of this powerful tool.

