1. Understanding the Smartboard
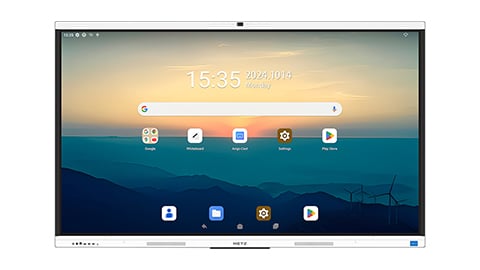
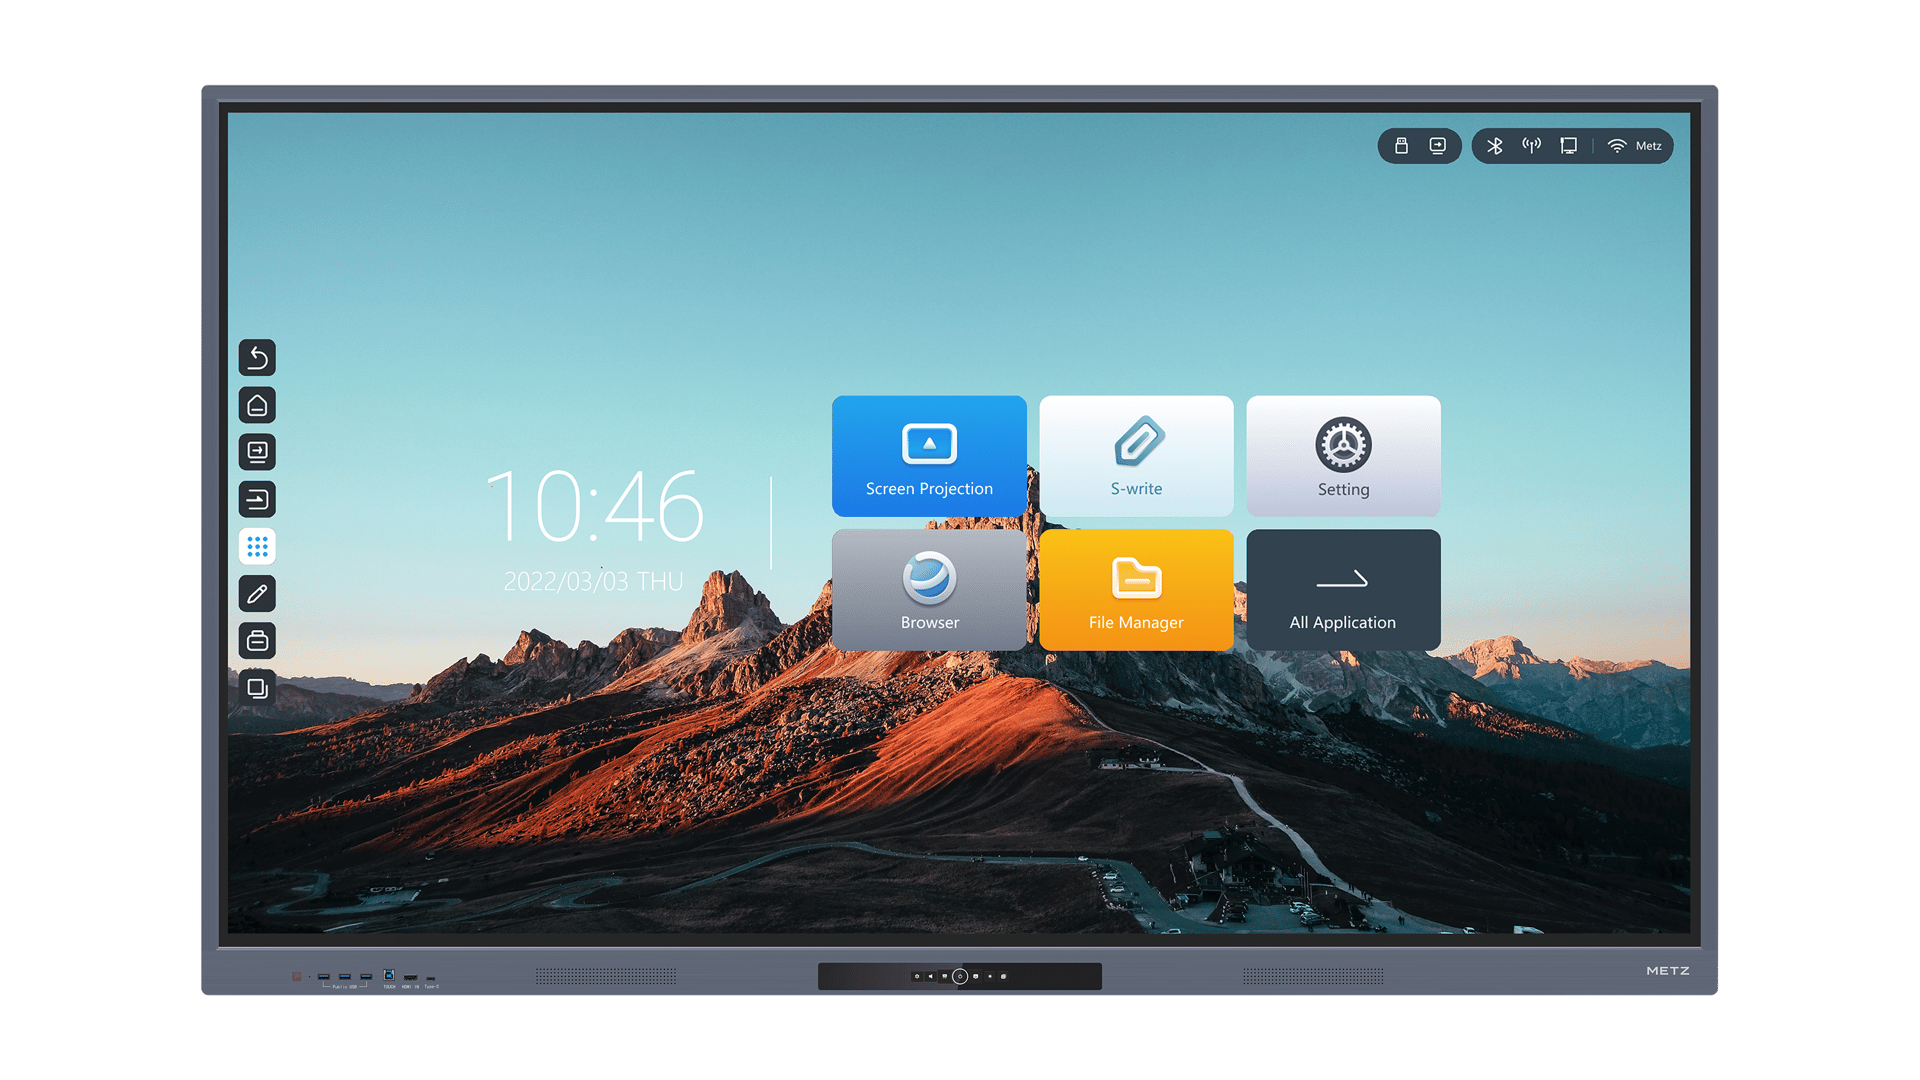
The Smartboard is an interactive whiteboard that revolutionizes the way we teach and learn. With its touch-sensitive surface and advanced features, it allows educators to create engaging and interactive lessons. However, before you can start using this powerful tool, you need to know how to turn it on.
2. Checking the Power Connection
The first step in turning on a Smartboard is to check the power connection. Ensure that the Smartboard is properly plugged into an electrical outlet and that the power cable is securely connected. It's also a good idea to check if the power outlet is functioning correctly by plugging in another device.
3. Activating the Power Button
Once you have confirmed the power connection, locate the power button on the Smartboard. This button is usually found on the side or bottom of the board. Press and hold the power button for a few seconds until you see the power indicator light turn on. This light indicates that the Smartboard is receiving power.
4. Waiting for the Startup Process
After turning on the Smartboard, it will go through a startup process. This process may take a few moments, so be patient and wait for the Smartboard to fully initialize. You may see a loading screen or a progress bar during this time. Once the startup process is complete, the Smartboard will be ready for use.
5. Checking the Connection to the Computer
Next, ensure that the Smartboard is properly connected to the computer. The Smartboard requires a connection to a computer to function as an interactive tool. Check that the USB cable or wireless connection is securely connected to both the Smartboard and the computer. If using a wireless connection, make sure the Smartboard and computer are on the same network.
6. Calibrating the Smartboard
Calibration is an essential step to ensure accurate touch recognition on the Smartboard. Most Smartboards have an automatic calibration feature that guides you through the process. Follow the on-screen instructions to touch specific points on the board. This will allow the Smartboard to calibrate and adjust its touch sensitivity accordingly.
7. Installing Smartboard Software
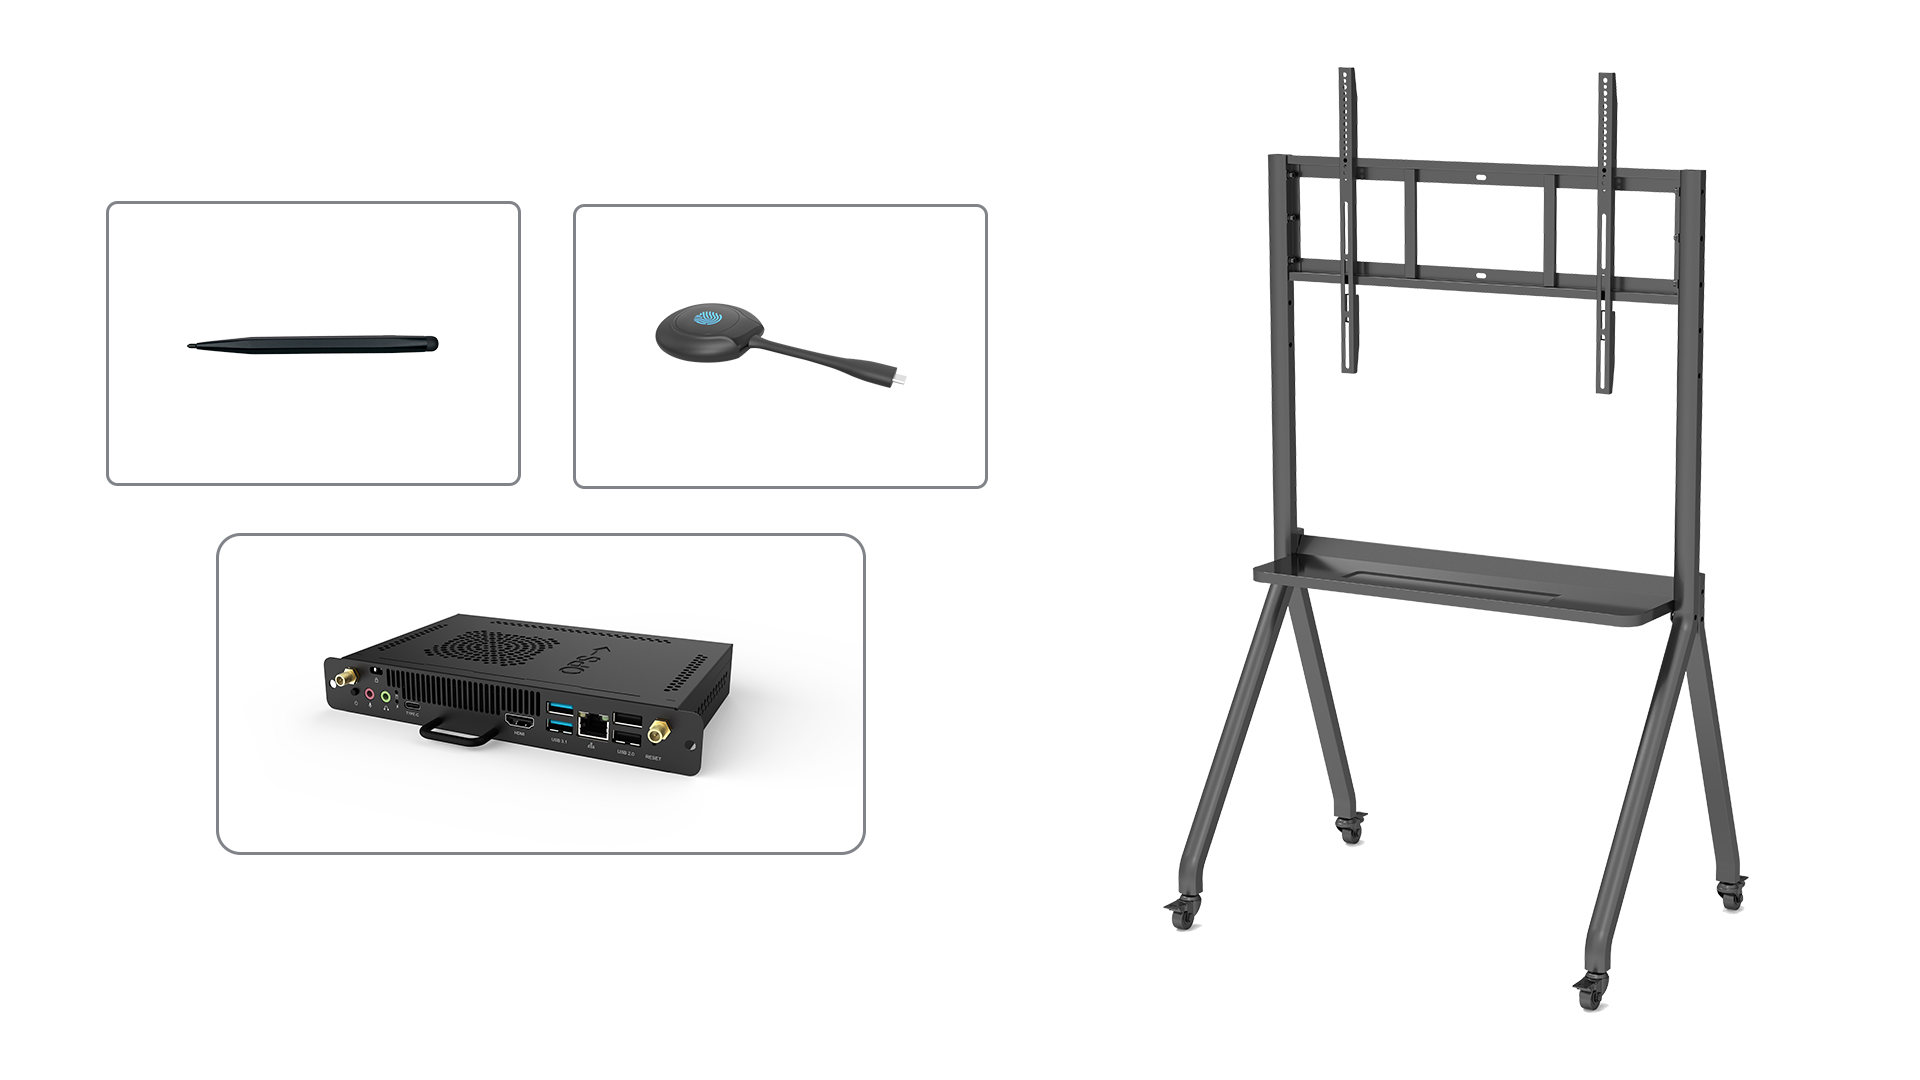
To fully utilize the features of the Smartboard, you may need to install the Smartboard software on your computer. This software provides additional tools and functionalities for creating interactive lessons. Visit the official Smartboard website to download and install the latest version of the software compatible with your operating system.
8. Troubleshooting Common Issues
If you encounter any issues while turning on your Smartboard, there are a few troubleshooting steps you can try. Firstly, check all the connections again to ensure they are secure. Restart both the Smartboard and the computer. If the problem persists, consult the Smartboard user manual or contact the manufacturer's support for further assistance.
9. Powering Off the Smartboard
When you are done using the Smartboard, it's important to power it off properly. Locate the power button and press and hold it for a few seconds until the power indicator light turns off. This ensures that the Smartboard is safely shut down and ready for the next use.
10. Enjoying the Benefits of Smartboard
Now that you know how to turn on the Smartboard, you can start enjoying its numerous benefits. The Smartboard allows for dynamic and interactive teaching, making learning more engaging for students. Take advantage of its features to create captivating lessons and foster a collaborative learning environment.


